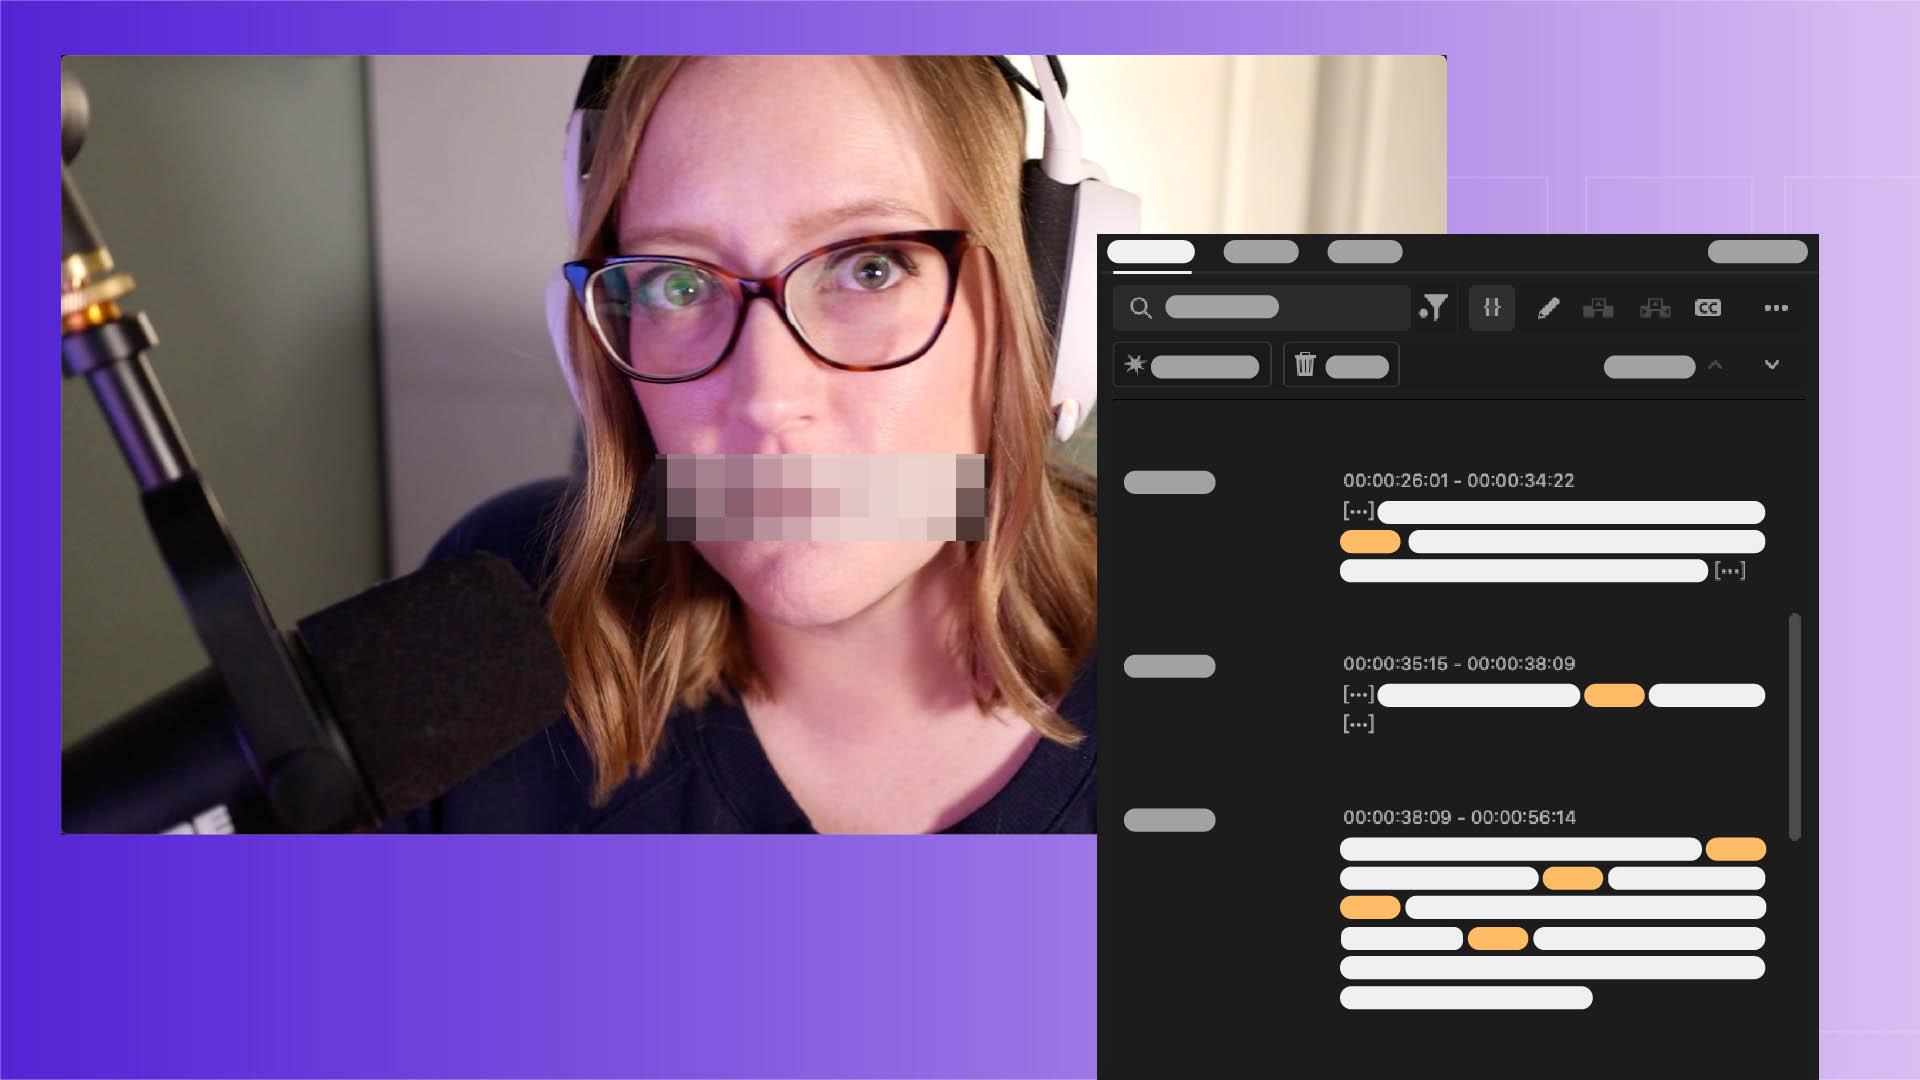
[Sarah John]: If you'd like to learn how to quickly turn a clip like this: "What the flip flopping dang dang darn are you talking about?"
Into this: "What the [censored] are you talking about?"
without having to manually go in and adjust the audio for every single unsavory word, then I have great news for you.
I'm Sarah, and I'm going to show you how to use Premiere's Text panel to assemble your video, rearrange clips, and make sure your content stays profanity free using the Censor Tool.
Edit your video by editing the text
First things first.
Let's go into Premiere and import our footage.
On the Import screen under Settings, we will enable the Automatic transcript option.
As you might be able to guess, this will make sure our clips are automatically transcribed as they're pulled into the program.
Then we'll go up to the Window menu and open up the Text-Based Editing Workspace.
When we drag our imported clip down to the Timeline, the automatic transcription will show here in the Text panel.
We will uncheck Follow active monitor down here so that the transcript stays focused on the Timeline transcript while we edit.
When we move the Cursor over the transcript, each word gets highlighted, and clicking on a word moves the Playhead to where that word is being said in the Timeline.
And the reverse is also true.
If we move the Playhead, the Cursor in the Text panel moves. [silent clip playing] We can assemble a sequence for this take by going through the text, and if there's a word or even a full sentence we'd like to totally remove, we can select that here in the transcript and delete it by hitting the Backspace key.
We can do the same with pauses, which are represented by the bracketed ellipsis.
As you can see, when we delete those, we create a cut in the video, and the sequence will continue to change based on our edits to the text.
Using this method, we can go through and get a quick rough cut of our video edit.
Build your own custom sensor list
Now let's go in and get rid of all those flipping swears.
Sorry, I mean those [censored] swears.
Up here under the Ellipsis button, we can see that we have a Censored words list.
This list lets us add our own list of words we want to censor, or we can import a list if we have one.
Let's go ahead and add those and then we'll select Save.
Now when we go up to the Filter button, we can click Censored words to highlight any of the words in our list that show up in the transcript.
Automatically apply a bleep effect
Then we'll go up to Apply Effect and select one of the choices here.
There are a few preloaded options, and we can also add our own if we have one.
Let's go with the Bleep.
It's a classic.
Selecting the Apply button will censor the selected word, and Apply to all, will put the effect on every word in the transcript that appears on the Censored words list. [silent clip playing] When we look at the Timeline and playback the video, we can see where those effects have been automatically applied over all those words.
"What the [censored] What the [censored] ... are you talking about?
[censored] flop.
And there we go, a perfectly good G-rated video.
Incorporating text-based editing into your post-production process can save you a lot of [censored] time.
Happy editing!
Note: Stock assets provided are for practice purposes only. See terms.
What you’ll learn
Import and transcribe your clips automatically
Enable automatic transcription to create an editable text transcription of the dialogue in your clips.
Edit your video by editing the text
Use the Text-Based Editing workspace to assemble and refine your sequence. Remove pauses and trim or reorder sentences from the transcript and your cuts instantly update in the timeline.
Build your custom censor list
Add the words you want to censor, or import and existing list. Save your list for use in future edits.
Automatically apply a bleep effect
Choose from standard effects like bleep or silence, or add your own custom sound to censor all flagged words at once.
You can control how Adobe websites use cookies and similar technologies by making choices below. But note that if you disable cookies and similar technologies entirely, Adobe websites may not function properly.
Cookies are small text files stored by your web browser when you use websites. There are also other technologies that can be used for similar purposes like HTML5 Local Storage and local shared objects, web beacons, and embedded scripts. These technologies help us do things like remembering you and your preferences when you return to our sites, measure how you use the website, conduct market research, and gather information about the ads you see and interact with.
You can make choices in the menu below about what cookies and other technologies you want us to use on Adobe sites when you visit them from this browser. You can always change those choices later by clicking on the Cookie Preferences link at the bottom of the page.
If enabled:
We can improve your experience by tailoring the site and the content to things we think might be of interest
We can better keep track of your preferences — like what language you prefer to use
We will better understand your likely interests so we can provide you more relevant Adobe ads and content on non-Adobe websites and in non-Adobe apps
It will help us improve the performance of our website and those of our partners who use the Adobe Experience Cloud
If disabled:
We won’t be able to remember you from session to session so the experience may not be tailored to your interests
You’ll still have access to the content of the site but certain features that depend on cookies may not function
You’ll still see ads, they just may not be as relevant to you
General information
You can control how Adobe websites use cookies and similar technologies by making choices below. But note that if you disable cookies and similar technologies entirely, Adobe websites may not function properly.
Cookies are small text files stored by your web browser when you use websites. There are also other technologies that can be used for similar purposes like HTML5 Local Storage, web beacons, and embedded scripts. These technologies help us do things like remembering you and your preferences when you return to our sites, measure how you use the website, conduct market research, and gather information about the ads you see and interact with.
You can make choices in the menu below about what cookies and other technologies you want us to use on Adobe sites when you visit them from this browser. You can always change those choices later by clicking on the Cookie Preferences link at the bottom of the page.
If enabled:
We can improve your experience by tailoring the site and the content to things we think might be of interest
We can better keep track of your preferences — like what language you prefer to use
We will better understand your likely interests so we can provide you more relevant Adobe ads and content on non-Adobe websites and in non-Adobe apps
It will help us improve the performance of our website and those of our partners who use the Adobe Experience Cloud
If disabled:
We won’t be able to remember you from session to session so the experience may not be tailored to your interests
We’ll still count your use of our site and services
You’ll still have access to the content of the site but certain features that depend on cookies may not function
You’ll still see ads, they just may not be as relevant to you
Operate the site and core servicesOperate site and measure engagement
Always active
These cookies are required, and they are used to enable the site and related services core functionality. Without them the site could not operate, so they cannot be disabled.
These cookies enable the site and related services’ core functionality and collect statistics about user engagement, such as counting active use to help us understand trends. These cookies cannot be disabled.
Measure performance
These cookies are used to analyze site usage to measure and improve performance. Without them Adobe cannot know what content is most valued and how often unique visitors return to the site, making it hard to improve information we offer to you.
These cookies are used to analyze site usage to measure and improve performance. Without them Adobe cannot know what content is most valued, making it hard to improve information we offer to you.
Extend functionality
These cookies are used to enhance the functionality of Adobe sites such as remembering your settings and preferences to deliver a personalized experience; for example, your username, your repeated visits, preferred language, your country, or any other saved preference.
Personalize advertising
These cookies are used to enable Adobe and our partners to serve ads more relevant to your interests. Without them you will still see ads, but they might not be as relevant to you.
Personalize advertising
These cookies are used to enable Adobe and our partners to serve ads more relevant to your interests. Without them you will still see ads, but they might not be as relevant to you.