Hi, my name is Elfried Samba, and I'm the co-founder and CEO at Butterfly Effect.
Before Butterfly Effect, I spent seven years leading the social and community team at Gymshark.
And throughout my whole experience, I've embodied the One Better mentality and mindset.
It's all about making sure that you're taking unreasonable leaps.
But before you can take an unreasonable leap, you have to take a reasonable step.
And the One Better mindset embodies that.
Although I've used it in my personal life and throughout my career, I wanted to share with you three main ways how you can adopt this too.
Here we go.
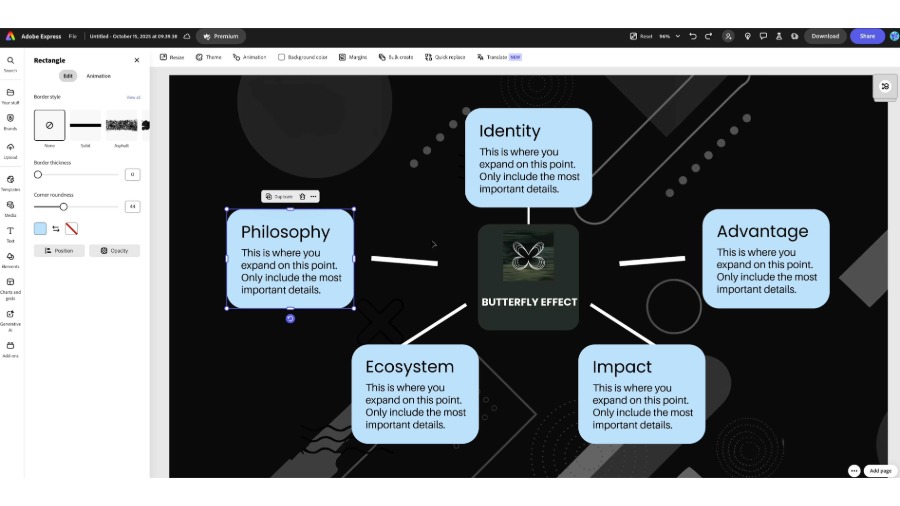
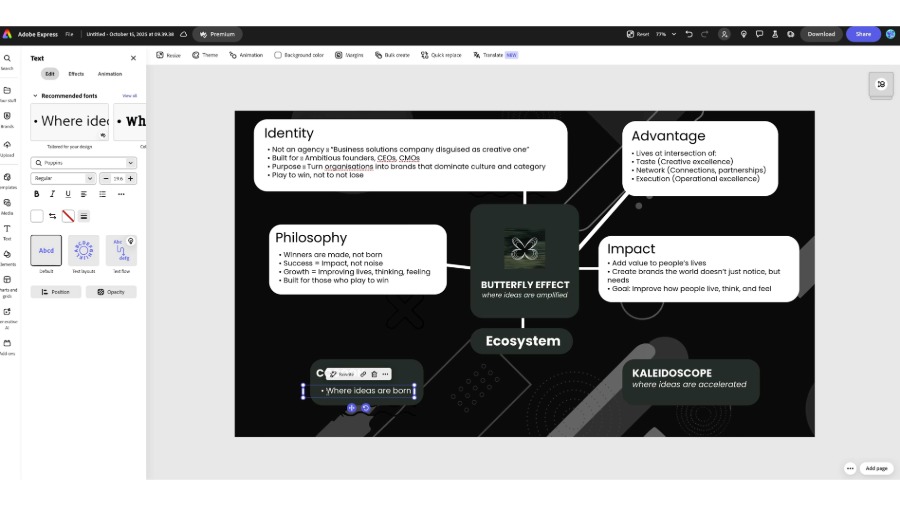
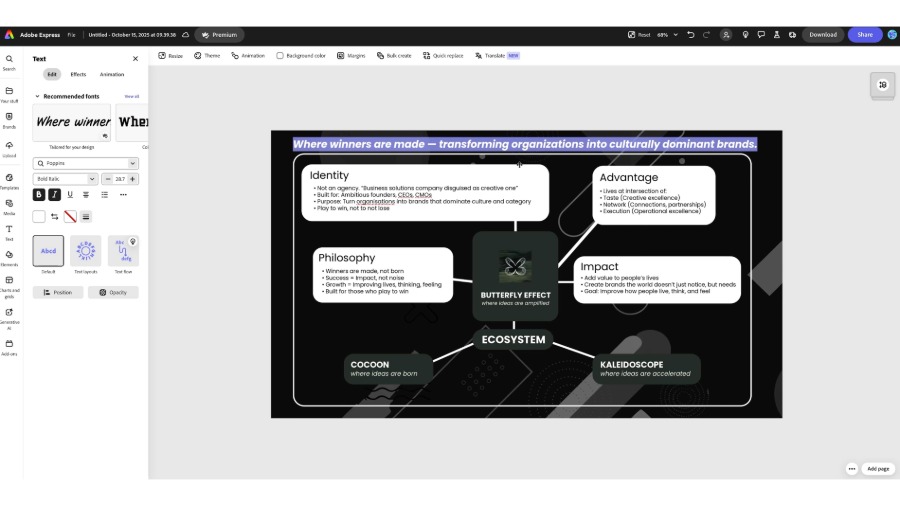
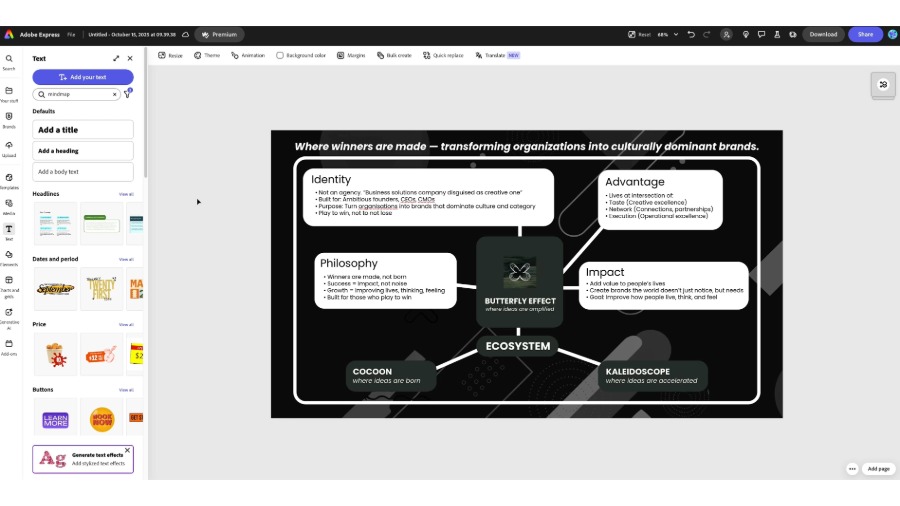
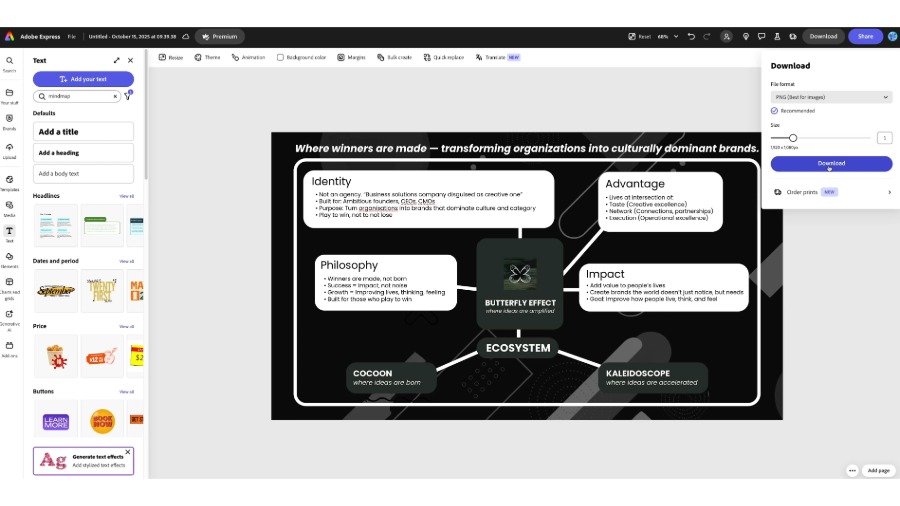
I believe that the way that you name things is not just to make sure that something is easily identified, but it actually creates an action, a symptom, a reaction on the back of it.
So, with Butterfly Effect, the theory is effectively what the business is looking to achieve.
We're launching a company called Kaleidoscope.
And that is all about a collective of butterflies, which is therefore going to be our collective adventures.
And we also have Cocoon, which is basically our incubator for talent.
So, every single name embodies the action or the experience that we want to drive.
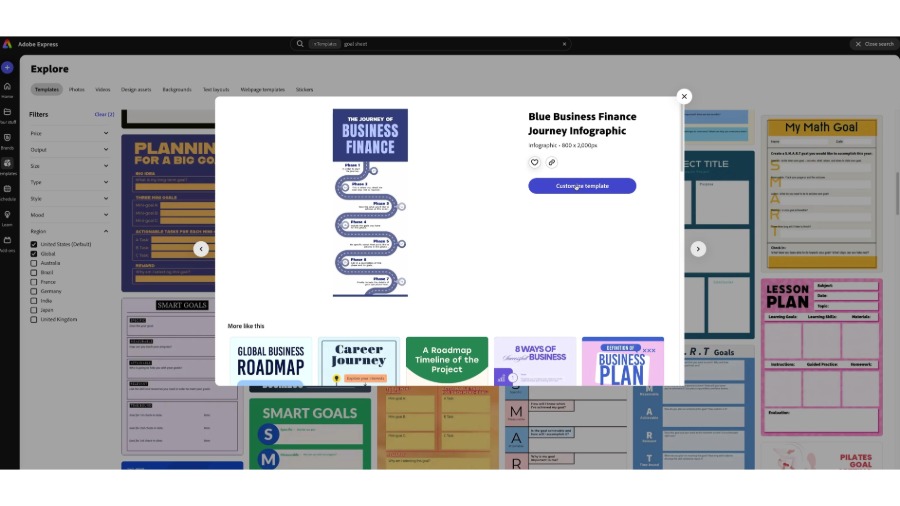
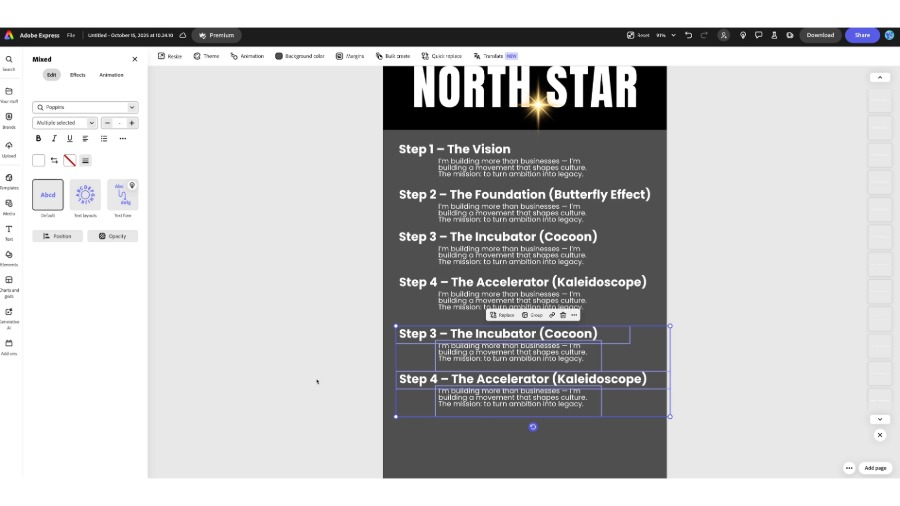
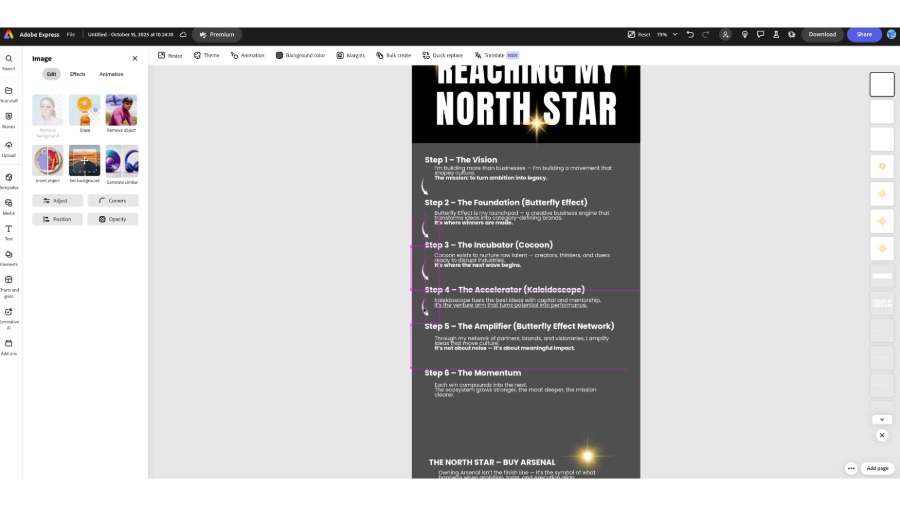
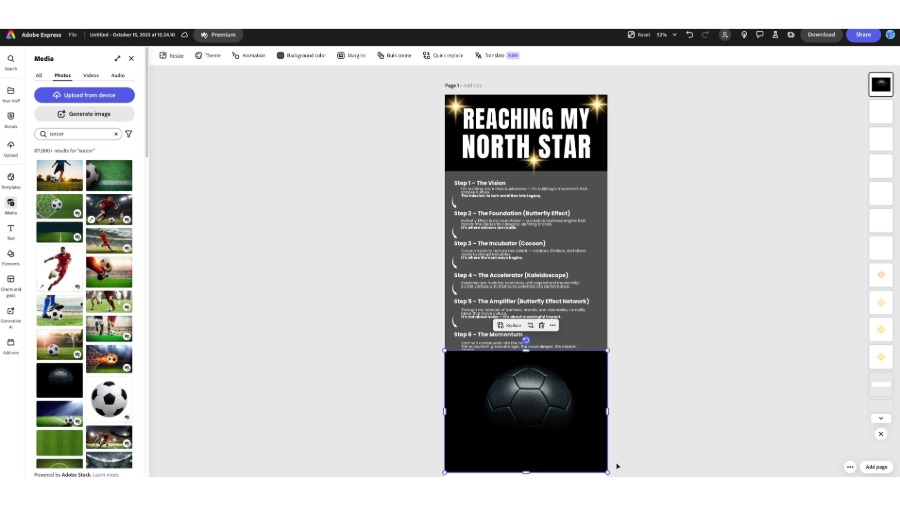
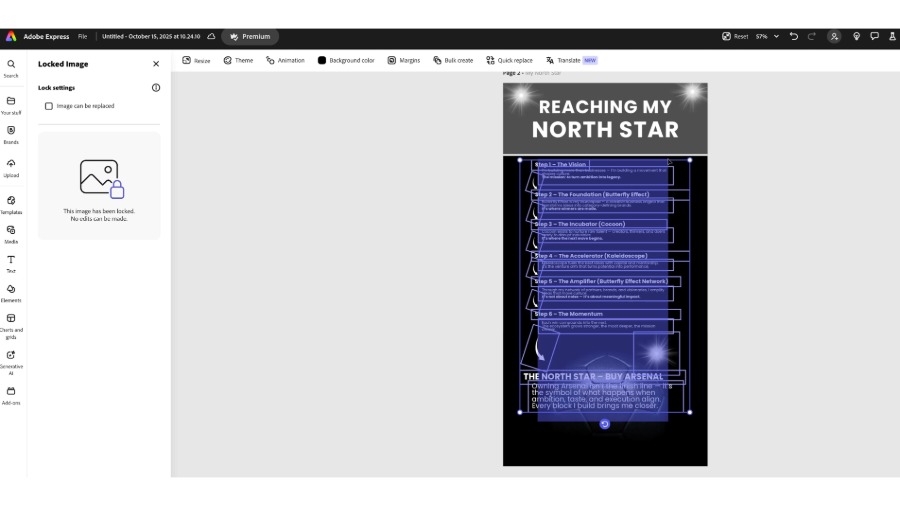
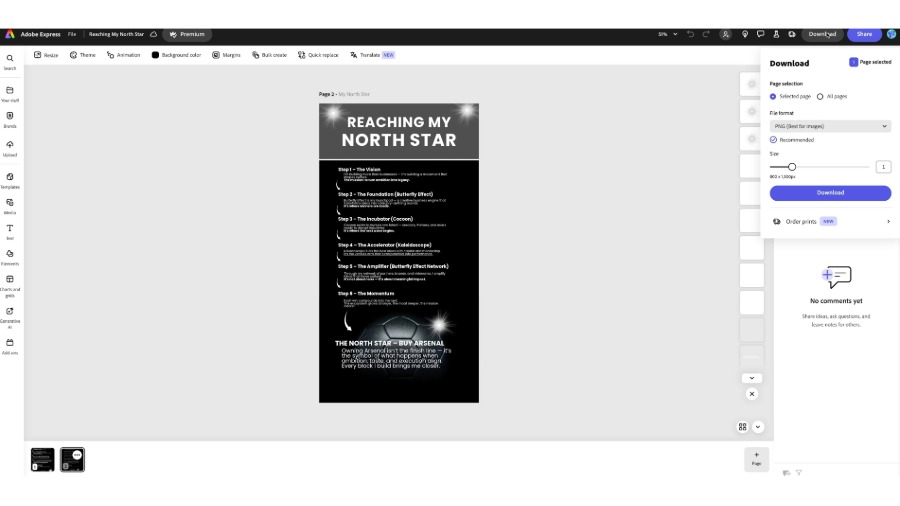
Another unique perspective of how we use the One Better mentality is about making sure that instead of us writing a job description, we are now starting to write the North Star of where our business wants to go.
We have to get really good at telling the story about our business: What are we looking to achieve?
What is aligned with that vision?
What is not aligned with that vision?
What are some of the bottlenecks that we're facing right now?
And then instead of giving people a job description to fit within what we're saying, we're going to ask them to tell us how they can solve our problem and get us to our destination faster.
And we believe that by doing that, we're able to create roles for the future and the world that we're going into, instead of trying to make sure that you fit into the world that we've come from.
Stories are the bridge between information and understanding.
Use a framework of storytelling, so that you can make sure that people actually get the picture.
We don't pitch, we tell stories based on scenarios, based on challenges, based on problems to be able to really demonstrate that we understand not only the client, the consumer and the problem at hand.
And I feel like if we can story anything, if we can turn anything that's complicated and bureaucratic into a story and utilize tools like Adobe Express to make that happen, then you're on to a winner.
Because it's not about information, it's all about understanding.
I fundamentally believe that adopting the One Better mindset is a weapon for success in the business world.
But if we can break things down into that detail, into base principles, and just focus on getting one step better every single day, then we'll outperform the rest because the compound impact will fall in your favor.