Introduction
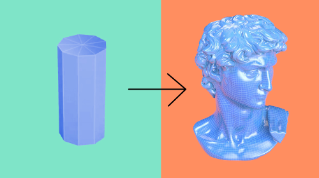
Creating 3D is more than just modeling and geometry.
Just as important is the look and feel of the model.
Your models could represent smooth metal, glossy plastic, rough stone, or even transparent glass.
This is determined by what we call the material of your 3D objects.
Shapes can express a style, the materials allow many more creative possibilities.
In 3D, a material is set by two things
Materials and shaders in 3D graphics
the material properties and the shader.
A material is defined by a unique set of properties that determine a specific look.
A shader is what turns the material into something actually visible.
It is usually part of your 3D application and can't be easily exchanged between programs.
While sometimes the terms shader and material are mixed, it's best to think that the material is the look you defined for your 3D while a shader just provides a framework for you to work with it.
There are many shader and material approaches, some are realistic, some are stylized.
These days, physically based rendering, or PBR, is a common system that provides a flexible and universal approach.
It's available in many applications.
We'll summarize some of its most common properties.
They are the color,
Physically based rendering and core material properties
reflection, surface height, and transparency groups.
A materials' color is the simplest and most obvious one,
Color and reflection behavior
usually called diffuse albedo or base color.
It represents the color of a material without light, shadows, or reflections.
In most cases, it's obvious what this color is, red plastic, grey paint, or brown wood, for example are all easy to see.
Materials also define how a surface reacts to light.
If a material is glossy and smooth, it will have sharper reflections and highlights.
If a material is rough, it will have a matte, dull appearance.
Advanced reflection controls let you tick the highlights like chrome or metallic paint.
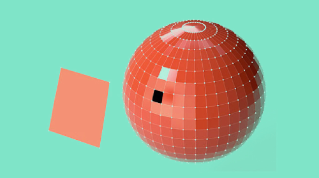
In real life, some objects have imperfections and small surface variations that are impractical to model.
Like a grain or dents and scratches, it is easier to fake these with a material instead of using millions of polygons.
Surface detail with normals and height
This property is called normal because it modifies the normal of a surface but can also be done with bump or height properties.
These let you fake the look of small geometric details on your material surface.
Sometimes the line between geometry and material is blurred, and your material displaces the geometry itself without the need for modeling.
The last group of material properties
Transparency and translucency effects
is for materials that let light pass through.
We call this translucency, which literally means shine through.
You might also encounter the terms opacity and transparency.
Opacity and transparency are non-realistic behaviors.
In reality, most surfaces exhibit translucency like glass, plastic and water.
They are solid, but light passes through them.
There are some specific translucent behaviors with additional properties like refraction for colored glass or light scattering under the surface of a wax candle.
To summarize, opacity or transparency are used for creating things like cutouts with surfaces being completely invisible.
While translucency is useful for creating real-world materials, which of these property types are available depends on the shader and how it's implemented in your 3D application.
Some programs will only have one main shader that supports as many features as possible.
Some will split more exotic features like human skin or multiple coats of paint into separate dedicated shaders.
If you create your materials in a PBR system, there's a good chance they can be transferred or at least converted to other applications.
Apart from defining the look of a material, you also need to assign materials to specific parts of your 3D geometry.
Assigning materials and using textures with UVs
Materials can be assigned to an entire model at once, to specific sections of your geometry, or even to individual polygons and triangles of your mesh.
There are two ways to set up and assign materials to your geometry.
You can make simple uniform materials by setting a few values with sliders, for example, shiny red plastic, smooth chrome or dull paint.
And you then assign materials based on your geometry, which implies doing your model with material assignment in mind.
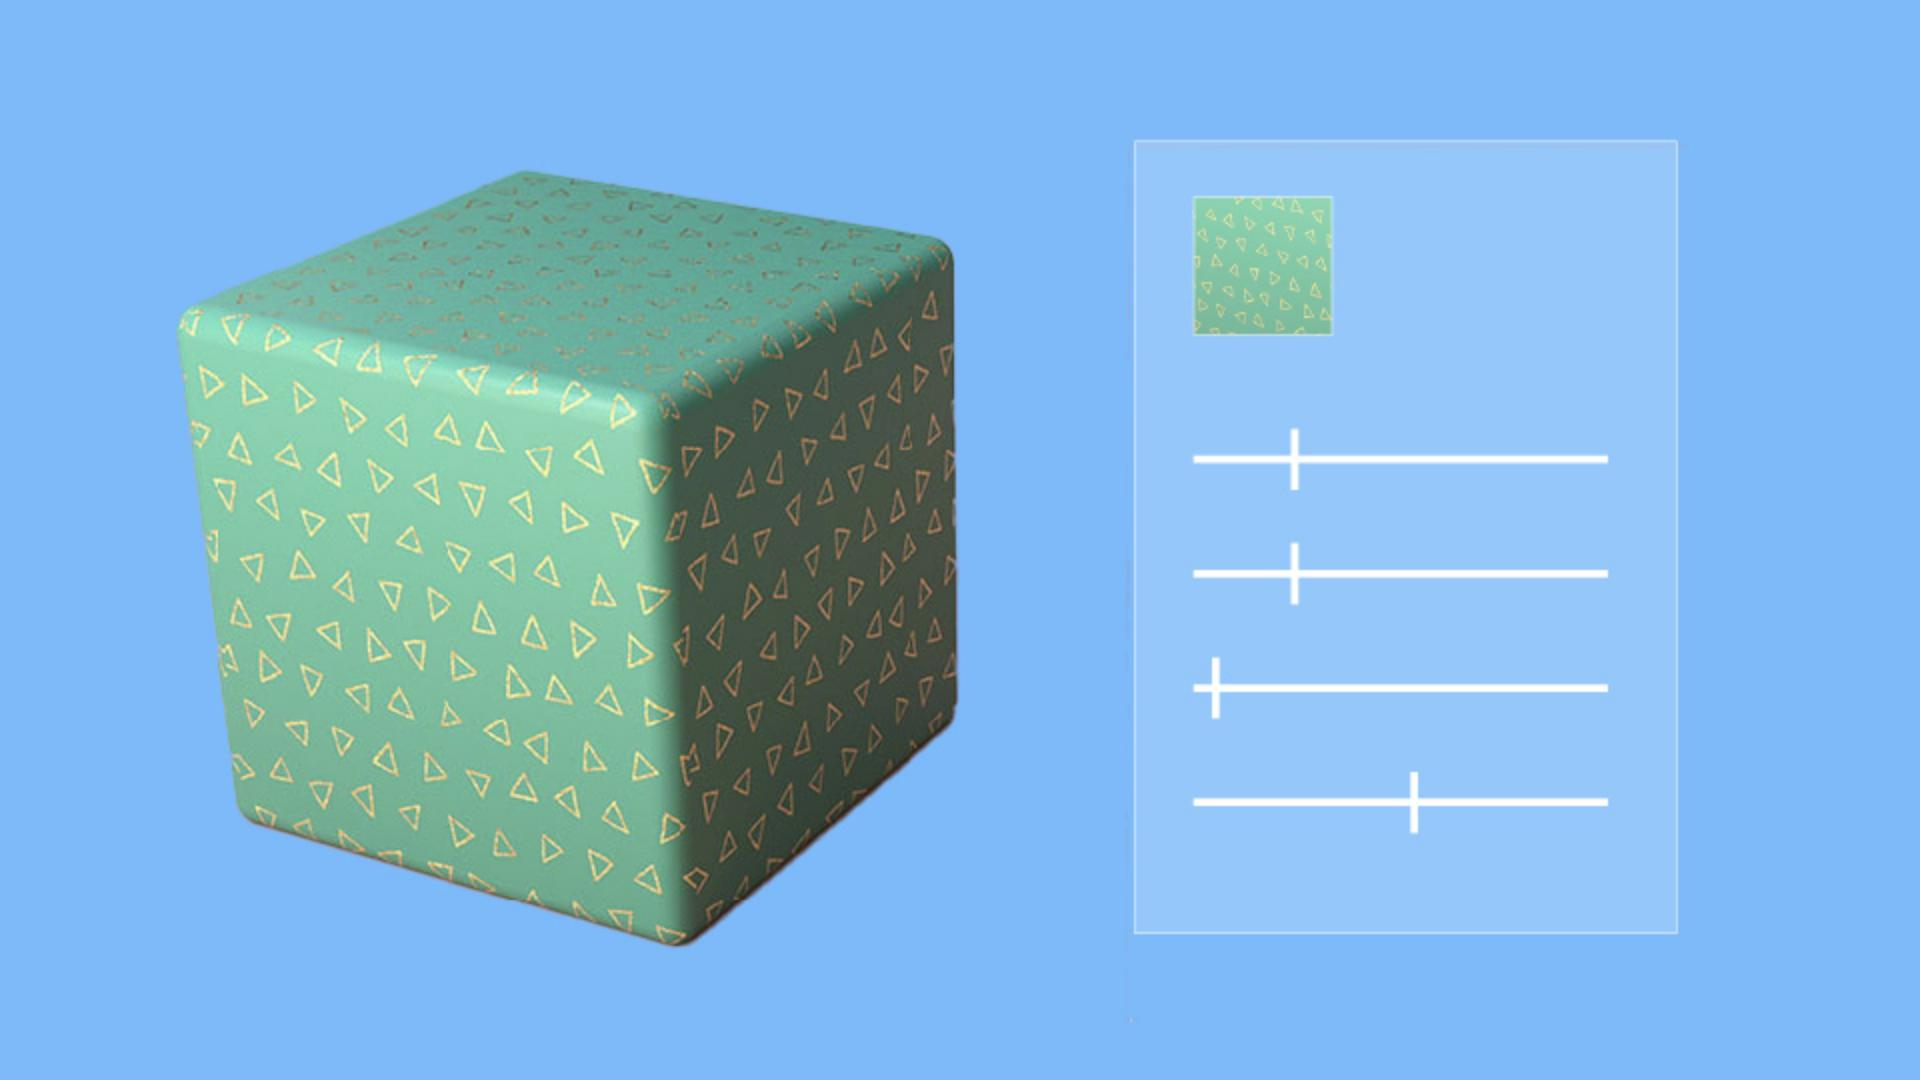
You might want to use repeating patterns instead of uniform values, or to have unique details like scratches, worn paint or dirt.
You'll then have to make use of bitmap files or textures.
These textures can either be reusable, repeating patterns or unique to your model with specific detail matched your geometry.
You will need to prepare your mesh for this in an extra step called UV unwrapping, which we'll talk about in the next video.