Introduction
Making your materials in 3D go beyond flat, uniform colors and come alive with character and unique details, is one of the most fun and creative steps in the 3D process.
What texturing is and how textures define materials
This step is called texturing, and it means you create one or more textures.
A texture in 3D terms is a bitmap file that partly defines the look of a material in your 3D project.
Two main categories of textures exist,
Tiling versus unique textures and their UV requirements
tiling and unique textures.
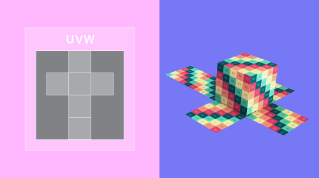
They are closely related to how your UV layout was made.
UV layouts made with simple projection methods can only use repeating textures created for flat planes.
This kind of reusable texture is called a tiling texture.
If you have a unique, carefully crafted UV layout, your textures become tied to that object's unique UV layout and cannot be applied elsewhere.
Techniques for creating textures
To create your textures, you have three major techniques.
You can paint and create your textures by hand, you can let computer algorithms do the work for you, what we call procedural generation, and you can scan real world materials and turn them into textures.
Mostly you'll use a combination of all three methods.
Creating your textures by hand gives you a lot of creative control and freedom.
You place decals, scratches, and any other elements yourself, whether it's on a 2D plane for a tiling texture or on a three-dimensional object for a unique texture.
This method really lets you define a style and is good for cases where stylized or simplified elements are needed.
2D applications like photo editors can be used for simpler materials and flat planes, but you'll need a specific 3D texturing software to have full control over all textures of a unique 3D object.
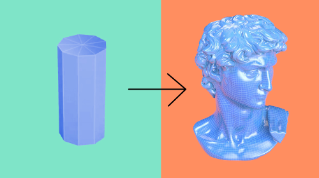
Painting and creating textures can be a lot of work to do by hand, especially if you have a lot of details to add or if you want to achieve realism quickly.
That's where procedural generation comes in, using any bakes that you might have made.
Procedural texturing techniques have smart algorithms to tedious or difficult parts of the texture for you.
For example, scattering little rocks in occluded cracks, adding tiny scratches on exposed edges, or fading colors based on geometry, shape, and orientation.
You'll find these smart techniques in several applications, some being entirely dedicated to building procedural textures.
Even procedural techniques have their limits when it comes to replicating something from the real world.
To get around that, you can scan surfaces.
From taking a simple cell phone photo, to using high-tech surface measuring machines, scanning can be a huge time saver in the texturing process.
With a bit of processing, a scan can quickly become a full digital material ready for use elsewhere.
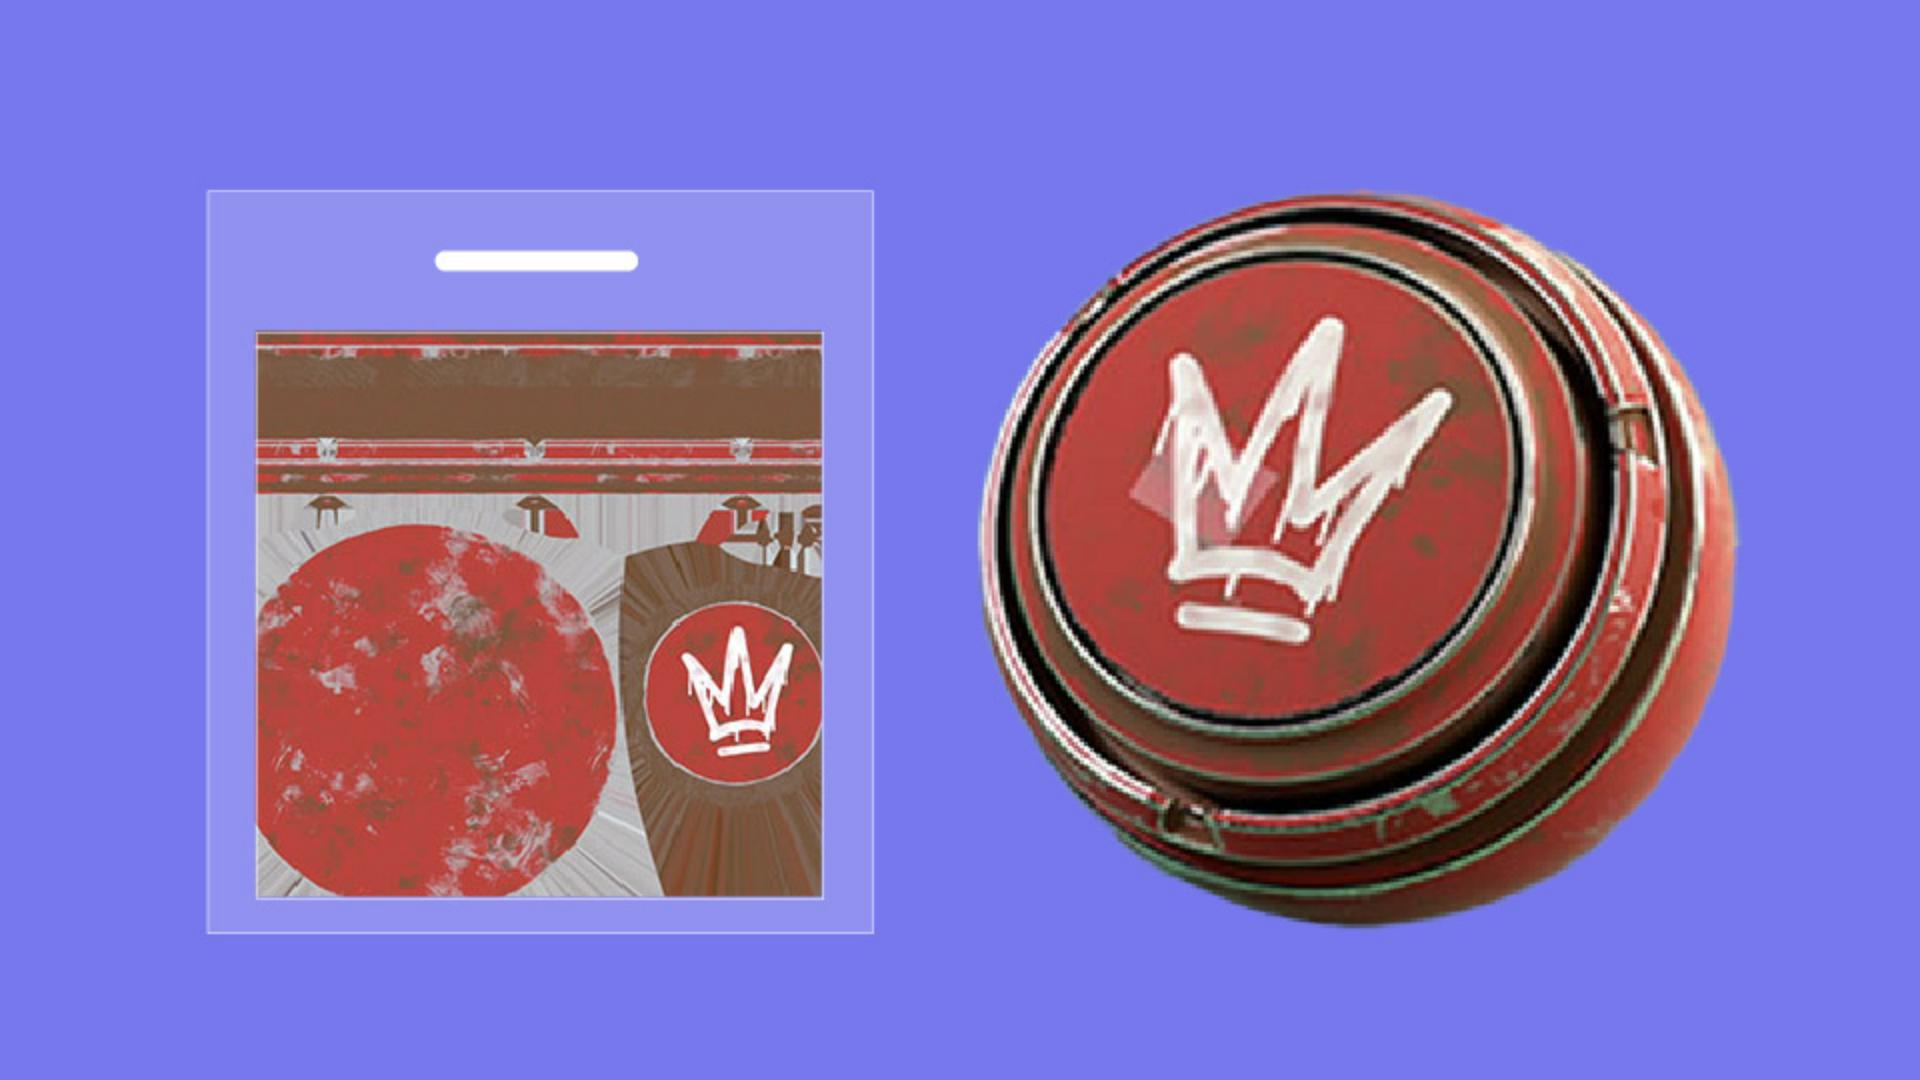
Creating your textures gives you multiple texture maps.
Defining materials with PBR maps and parametric materials
Combined together, these texture maps define the full look of your material.
Each texture represents a specific material property in PBR, physically based rendering, you'll have a base color texture representing visible surface colors, a roughness texture that defines reflections, and a height or normal map representing small surface grain and variation.
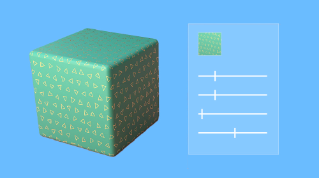
Your textures will be saved as bitmap image files, but you may want to use a special format, parametric materials.
Parametric materials pack all material properties together into a single file, allowing you to modify the results dynamically.
That means, unlike bitmaps, those parametric materials aren't static and can give you parameter controls over things like the color, surface, smoothness, dirt, and wear, or the shape of a repeating pattern.
Those two features packing all properties together, and parameter control, can have advantages.
The files are smaller and lighter, and you get more creative options to define your materials' look.
With texturing now clarified, join me to look at another way to add life to your 3D scenes.
In the next video, we'll cover adding motion through rigging and animating.