Introduction
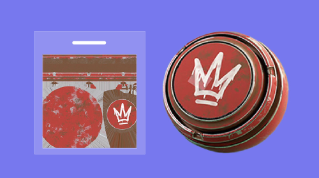
Previously, we talked about applying materials with solid colors or patterns to your entire models.
Often, you'll want to apply these colors, patterns, or decals to specific areas of your 3D model.
You might want to apply a pattern so that it nicely aligns with the edges of your model, like bricks wrapping around a corner of a wall.
To do this,
What UV unwrapping is and why it is needed
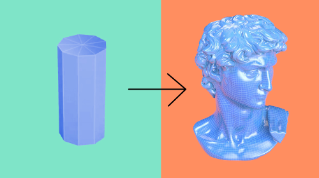
you'll first need to go through a step called UV unwrapping.
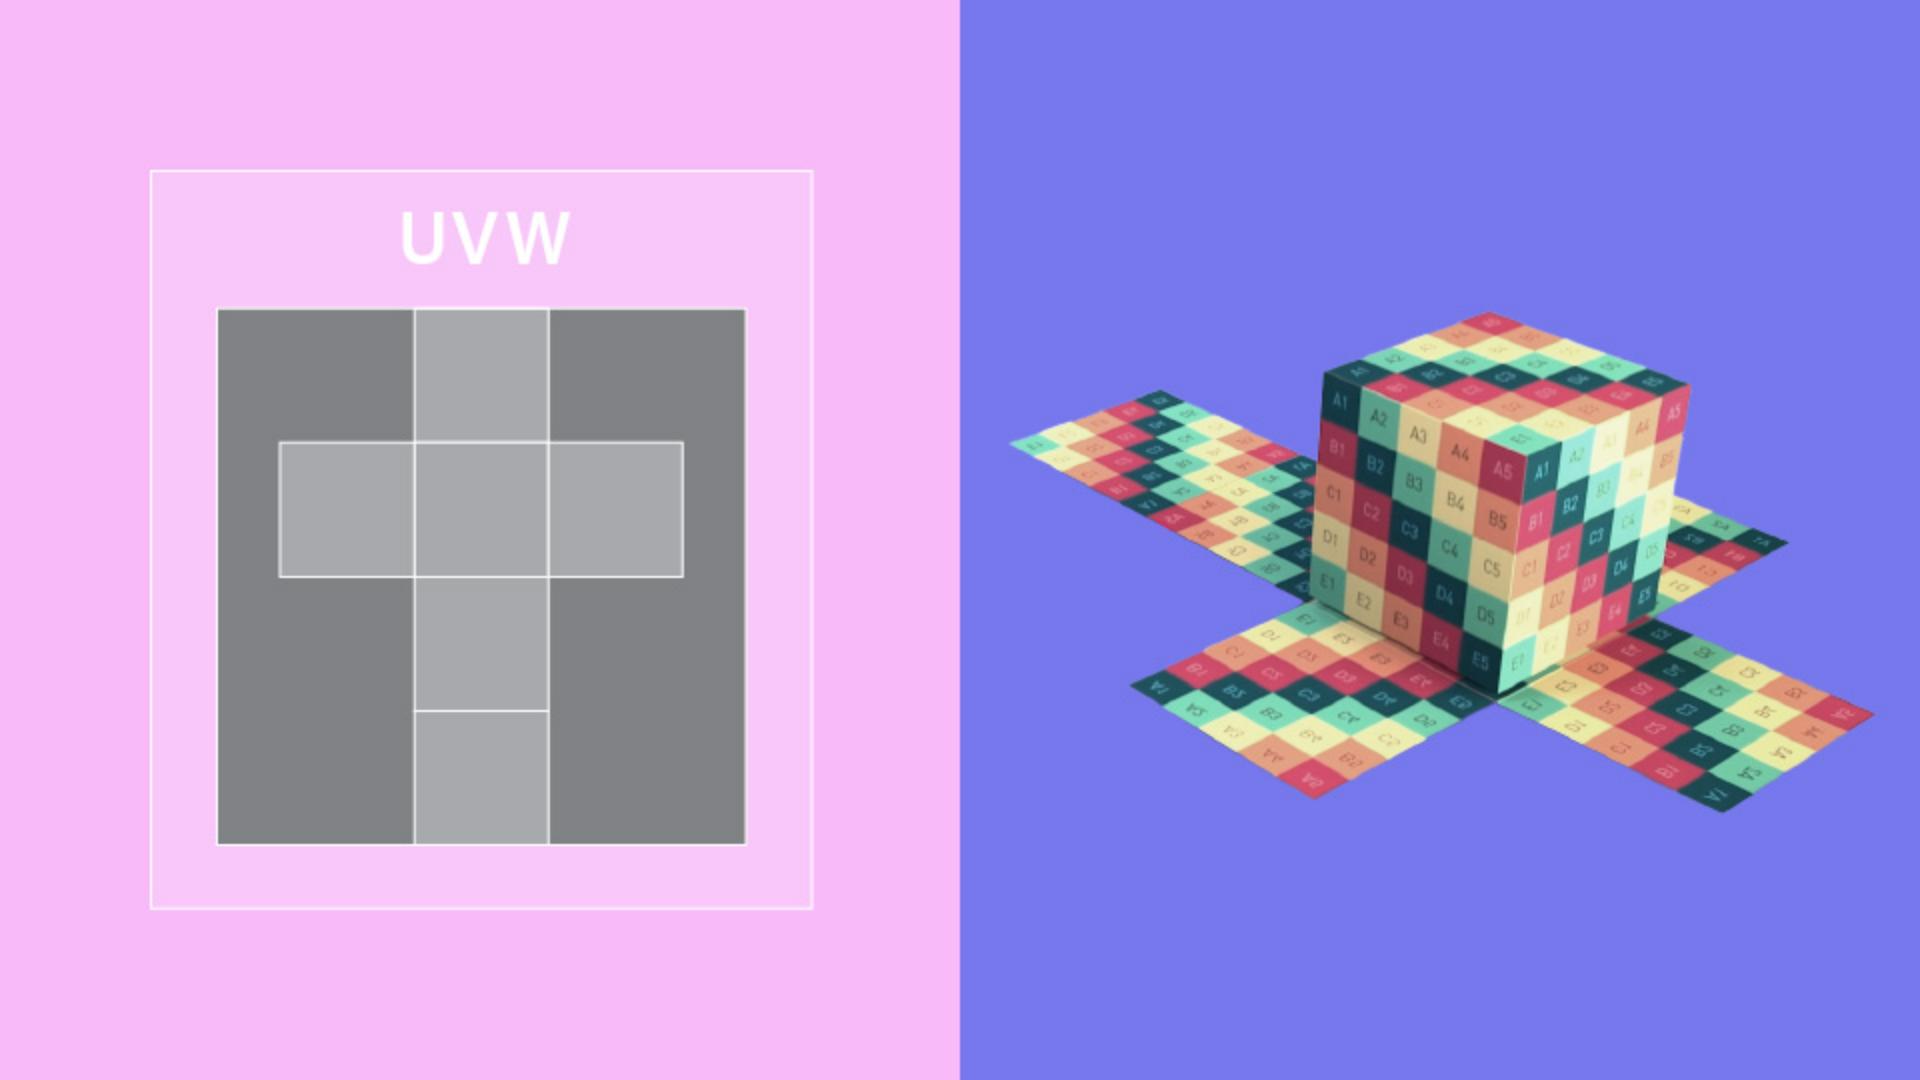
UV unwrapping is taking your three-dimensional model and unfolding it into a second flat version.
The name UV simply comes from the next set of letters over in the alphabet.
U, V, W sits next to X, Y, Z.
You don't undo or break your 3D modeling work in this step, but you're giving every vertex and face of your mesh a second set of coordinates.
Texture patterns are applied to a 3D model by transforming the 2D texture back to 3D space.
This is done by looking at the UV coordinates of each face.
UV unwrapping adds an extra step to the process, but it's a very reliable and flexible way to apply textures to models.
Every 3D application can read and use UV information.
To create your UVs, there are two main techniques, quick projection mapping and unique unwrapping.
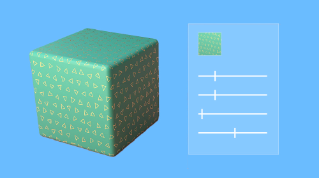
Projection mapping is an easy technique mostly meant for simple geometric forms.
Projection mapping for simple UVs
It is so quick and simple that you never actually look at the UVs, but immediately check the end result with a texture applied.
Like the name suggests, UVs are generated as if your pattern or texture is projected onto the geometry.
It works well for things like floors and walls of buildings, or for primitive shapes like planes, cubes or cylinders.
It is, however, very limited and only useful if you want to apply a repeating pattern with some control over its scale and positioning.
Projection mapped UVs result in a lot of overlaps.
Any face from your mesh that overlaps another face will show the exact same part of your texture.
That means you can't add unique elements to specific areas.
To do this, you need every part of the model, where you want unique texture data to have a unique place on the UV map.
That's what unique unwrapping does.
Unique unwrapping for detailed textures
Every component and face from your geometry gets laid out in a thoughtful way, like making a jigsaw puzzle.
You try to get the most out of the space available when cutting and arranging faces.
Creating good, unique UV unwraps takes care and skill.
There are some limitations and rules surrounding UVs.
The more you cut your 3D mesh into separate UV elements, creating seams, the more discontinuities you'll see when a pattern is applied.
If there aren't enough seams, the model won't be able to flatten out properly, which makes the textures appear distorted.
Any empty space you leave on your UVs is wasted, as that part of a texture will never, ever be shown on the 3D model.
If the relative scale between faces differs a lot from the 3D geometry, this could be very visible with a repeating pattern.
All this means good UV unwraps are carefully balanced between seams, distortion, and scale of elements.
Some applications can generate automatic UVs for you.
You avoid manual work, but there's no guarantee they'll be better than a carefully crafted layout.
Often, it's a good idea to combine automatic generation with a bit of manual work to get the best of both worlds.
Texel density and efficient UV usage
There's one specific aspect of UVs called texel density that is important for both projection and unique unwraps.
The textures you apply to your UV geometry have a set resolution, and this has an effect once they are applied to your 3D model.
Increasing the resolution of your texture or scaling your UVs both affect what you're seeing.
Texel density is this relation between the resolution of your texture and the size of your UVs.
It's good to keep track of your texel density, especially for scenes with many objects with real world sizes.
The best way to do this is to determine a baseline resolution, and then work out texture resolution and UVs based on this number.
Optimizing UVs based on project needs
Depending on your use case, you can spend more time and care unwrapping objects that are in focus in your project, which use automatic or simple projection UVs for background elements that are less important and don't need much detail.
If you want to be really efficient, you can even create UV unwraps that overlap as much as possible to get the most out of a simple texture.
For example, you might be able to overlap two halves of a symmetrical object, or you can get away with reusing the same UVs of a building made out of repeating elements.
Once your UV unwraps are done, your projects can be even more creative with textures and materials.
In the next video, we'll talk about some concepts that can make texturing even faster and easier.