In this tutorial Senior texture artist Jonathan Benainous will show us how he achieved to build a super "sand rocks" Substance material within Substance Designer.
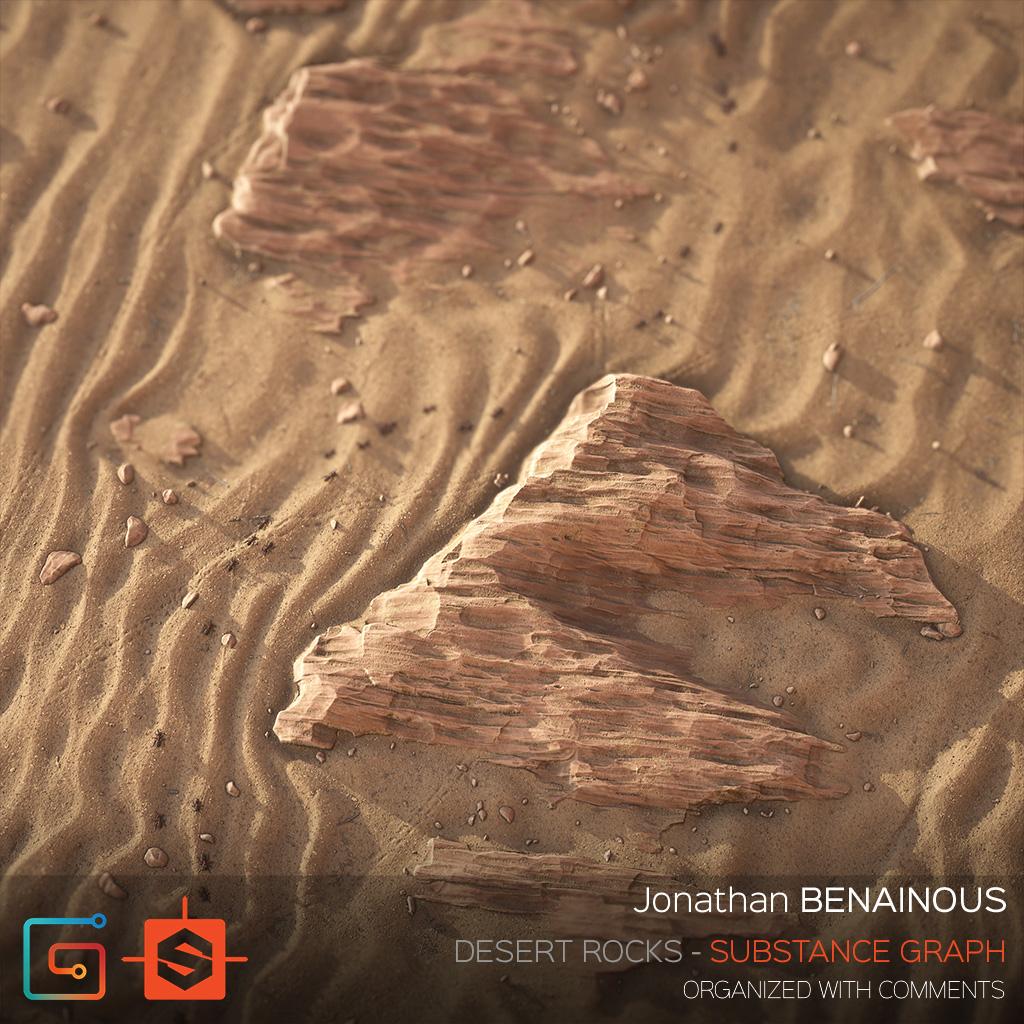
Like in every art project, the first step in the creation process is collecting solid references. Here we are aiming at creating realistic sand and rocks inspired by this photo taken in the Qatari desert.
One of the main challenges will be reproducing the abrasion wind effect that you can see on these limestone rocks carved by drifting sand. Also, we will see how to get a natural wave flow in the sand dunes and a seamless transition with the rocks.
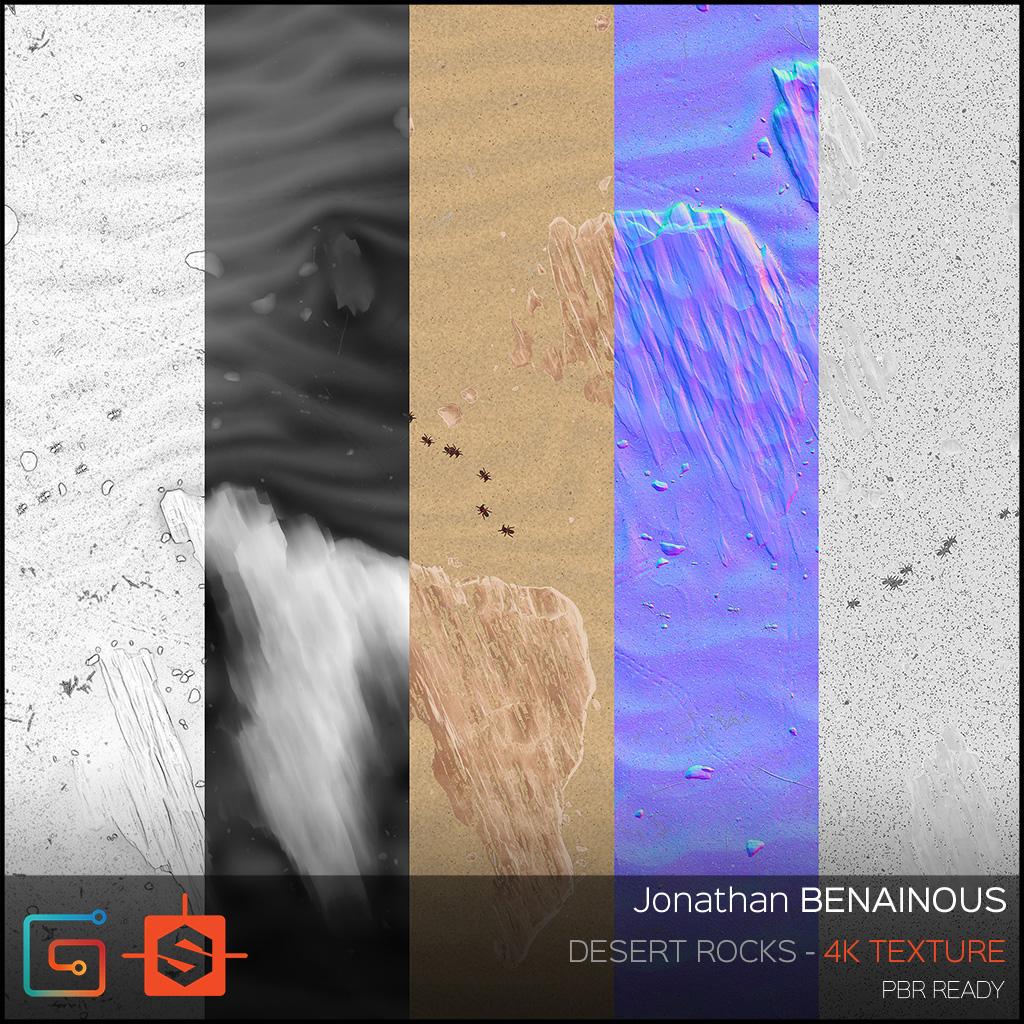
In Substance Designer a big part of the work is focused on the height map as it’s often the raw materials that make your albedo, normal, and roughness. The more your height sculpt will be polished, the more possibilities you have to extract interesting masks from it.
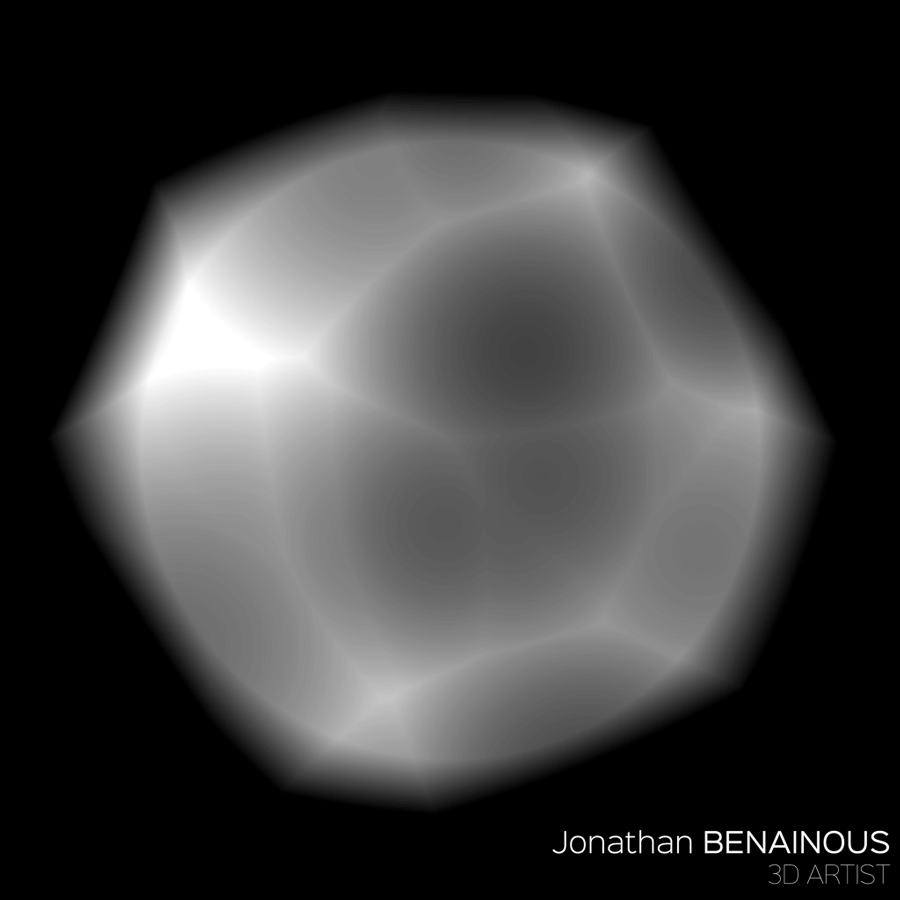
ROCKS:
After creating a paraboloid and spreading my shapes,
I inverted the result to create a wavy organic effect. I reused a paraboloid to crop the main shape of my rock.
I then used a succession of Slope Blur Grayscale, Directional Warp, Gradient Linear 1, and Level nodes to get a rock primitive.
Now that I have my rock primitive shape, I use a succession of blends to merge them together. The Transformation 2D nodes allow me to place the shape in the right position. The Level nodes are here to adjust the elevation of the two shapes blended in Max.
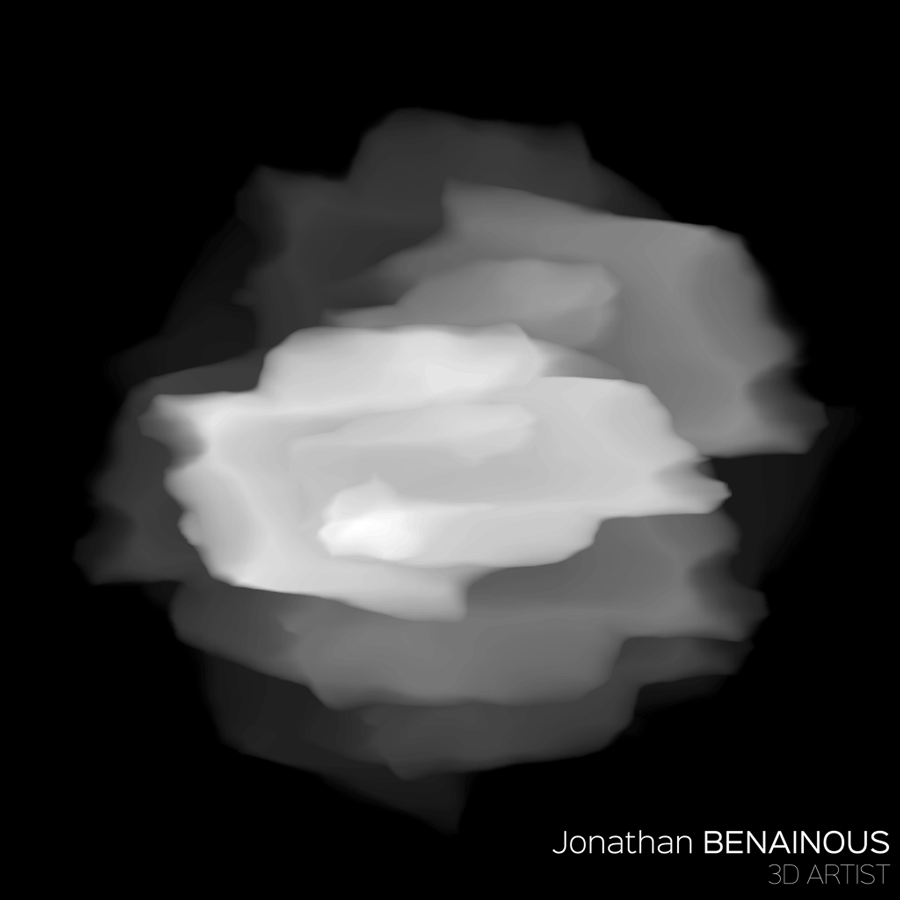
Using the rock primitive shape previously created, I sculpt into the main rock, subtracting shapes here and there to get as close as possible from the reference.
I found few good recipes to take off chunks of stones, using simple nodes like Transformation 2d, Gradient, noises, Blur, Slope Blur and Level.
I then repeated the process until I got the wanted shape, adjusting the opacity slider of each blend to get the right result.
To erode my main rock, I reuse the rock primitive shape to create organic blades that I am going to use to remove shards of stone.
I then keep eroding the main rock with various techniques but mainly using Clouds and Slope Blur connected to a NonUniform Blur Grayscale node to add very cool directional effects.
Note that I used pretty much the same technique to make the second rock that you can see in the final texture.
SAND:
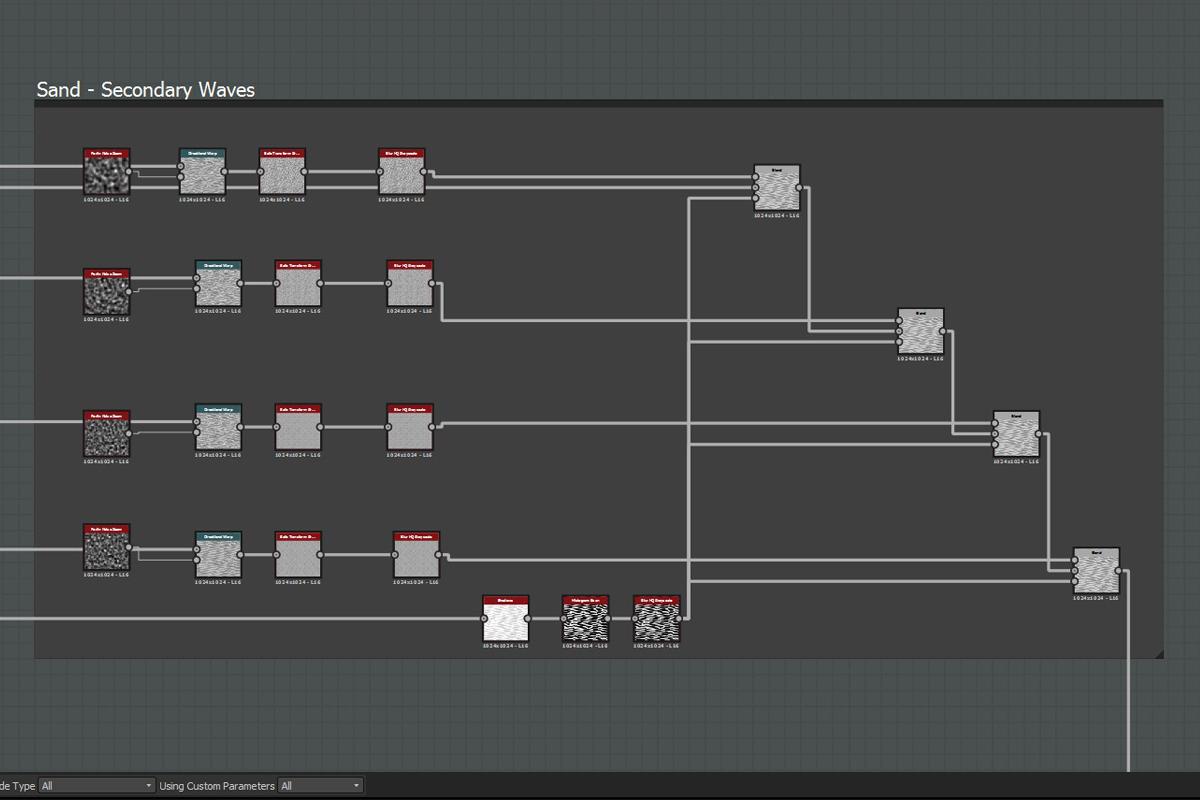
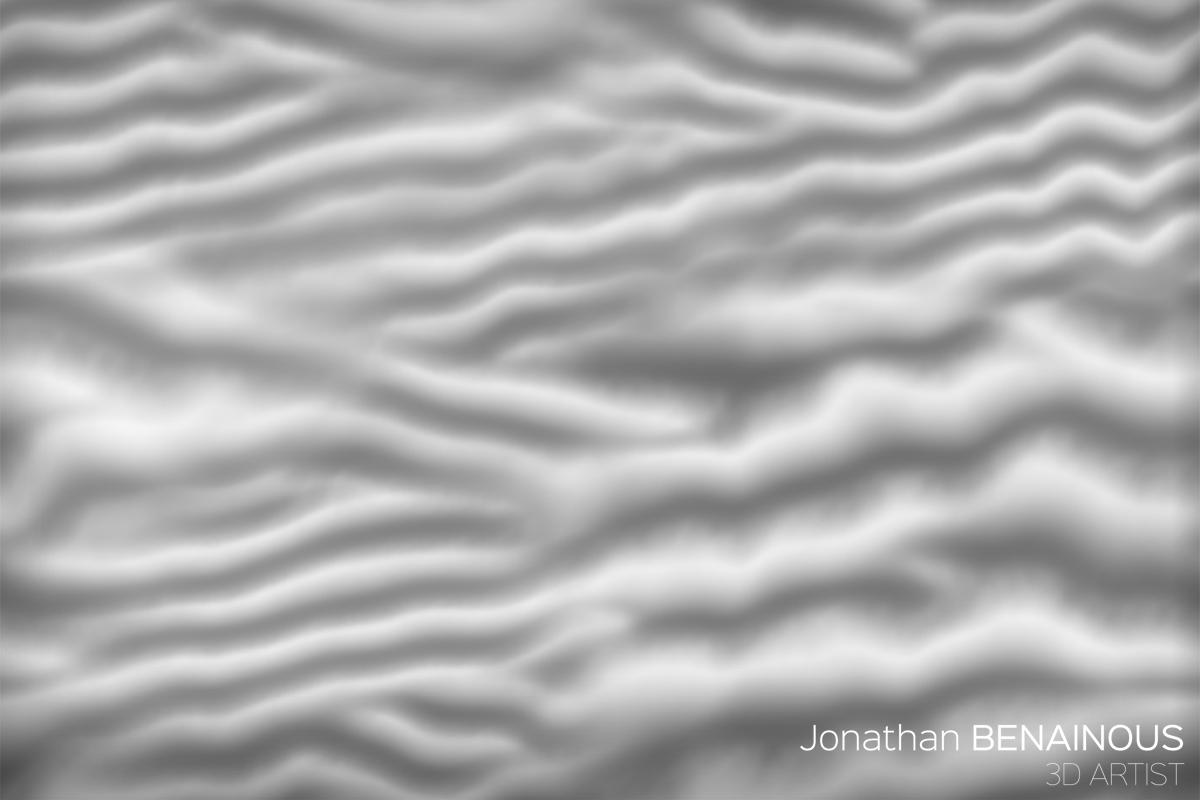
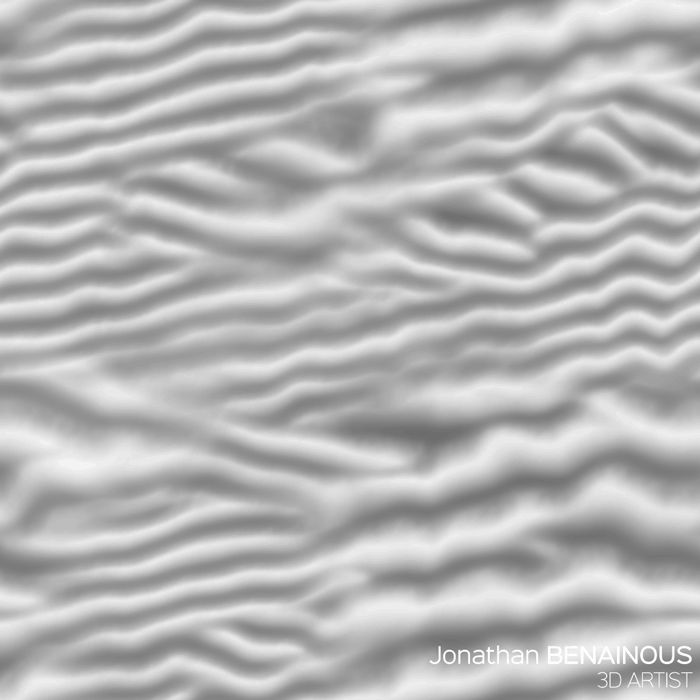
To make the sand I first used a Gradient Linear 1 to generate my waves, then a Gradient Map to adjust the values and start creating peaks and valley.
I then used the Skew Grayscale node to give angle to my gradient and warp it with wavy grayscale maps.
After mirroring my gradients, I blended my two waves together using a blurred mask to get different directions.
This method is largely inspired by Chris Hodgson’s work, so he deserves a shoutout for this brilliant technique.
Now that the main sand waves are in place, I add a second layer of smaller waves. I distort my original shape using a Perlin noise Zoom node, and use the Safe Transform Grayscale to modify the orientation.
I repeated the process four times with different sizes and orientations, from macro to micro.
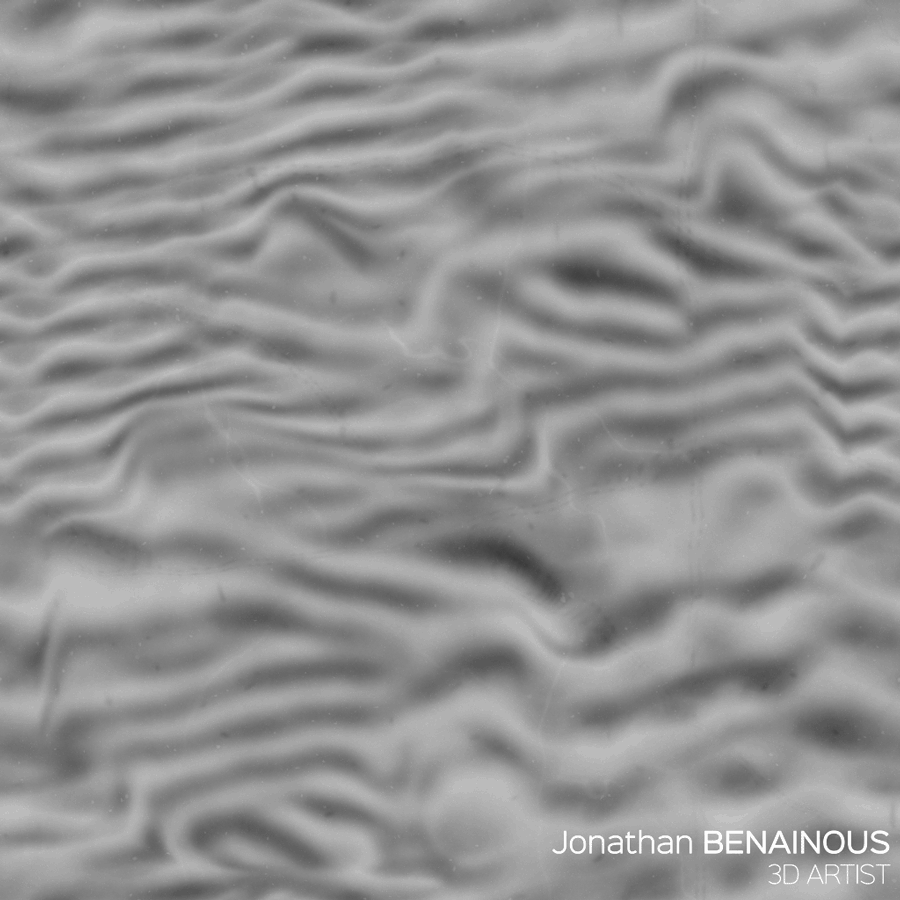
To assign the effect only in the top areas of my dunes, I used a Shadow node, clamped with a Histogram Scan that I blurred slightly.
To add more variations to my sand, I made a copy of my first dune graph, and changed the orientation and tiling of my gradients.
Then I used a Perlin Noise 2 to create a mask and blend together my two dune graphs.
The mask gives me total control on how to mix the two patterns and has a very big impact on the flow of my sand and in the global composition of my texture.
To integrate my rocks located at the end of the graph more naturally with the flow of the sand, I directional warped my dunes using a mask corresponding to my rock position.
I then blended the result with my original dunes to add even more variety and disorder to my flow of waves.
For the surface detail, I used a succession of Fractal Sum base nodes and noises to add grain. As a final touch to my sand, I created animal footprints and sand pebbles.
To smoothly connect my rocks with my sand, I use a blurred mask of my two rocks to slightly push the sand under them. I then created another mask to only blur the parts of my rocks that are going to be in contact with my sand.
In this manner, I obtain a perfect transition, without having any cuts between my two shapes.
To finalize the blending I use a Height Blend node set to Balanced Height Mode.
ALBEDO:
For the albedo of my sand, using a Highpass Grayscale node and levels, I make various masks to create variation between my peaks and valley.
For my sand pebbles, I directly duplicate my Tile Sampler and use it as input for my gradient map.
To avoid the use of an extra mask, in my gradient editor I set my latest key to 0 in alpha opacity. In this manner, you can blend it directly with the sand albedo.
Don’t forget to use HSL to make adjustments between the values of your elements and ensure the overall consistency.
For the rock albedo I use my rock height to generate ambient occlusion and make masks to apply different color values.
To break the regularity of my masks I subtract grunge maps to add a more organic feeling.
I used a Facing Normal node combined with a Histogram Scan to get a nice mask and subtly highlight and reinforce the edges of my albedo.
Finally, to add more realism, I created a mask out of an ambient occlusion node to fill some of the rock notches with sand.
As an extra detail pass, I added sparkle effects to my sand, large and small pebbles, wood pieces, and ants fully made in Substance Designer.
To take a more in-depth look into my graph while learning from and dissecting it, the full source .sbs file is available on Gumroad:
You can control how Adobe websites use cookies and similar technologies by making choices below. But note that if you disable cookies and similar technologies entirely, Adobe websites may not function properly.
Cookies are small text files stored by your web browser when you use websites. There are also other technologies that can be used for similar purposes like HTML5 Local Storage and local shared objects, web beacons, and embedded scripts. These technologies help us do things like remembering you and your preferences when you return to our sites, measure how you use the website, conduct market research, and gather information about the ads you see and interact with.
You can make choices in the menu below about what cookies and other technologies you want us to use on Adobe sites when you visit them from this browser. You can always change those choices later by clicking on the Cookie Preferences link at the bottom of the page.
If enabled:
We can improve your experience by tailoring the site and the content to things we think might be of interest
We can better keep track of your preferences — like what language you prefer to use
We will better understand your likely interests so we can provide you more relevant Adobe ads and content on non-Adobe websites and in non-Adobe apps
It will help us improve the performance of our website and those of our partners who use the Adobe Experience Cloud
If disabled:
We won’t be able to remember you from session to session so the experience may not be tailored to your interests
You’ll still have access to the content of the site but certain features that depend on cookies may not function
You’ll still see ads, they just may not be as relevant to you
General information
You can control how Adobe websites use cookies and similar technologies by making choices below. But note that if you disable cookies and similar technologies entirely, Adobe websites may not function properly.
Cookies are small text files stored by your web browser when you use websites. There are also other technologies that can be used for similar purposes like HTML5 Local Storage, web beacons, and embedded scripts. These technologies help us do things like remembering you and your preferences when you return to our sites, measure how you use the website, conduct market research, and gather information about the ads you see and interact with.
You can make choices in the menu below about what cookies and other technologies you want us to use on Adobe sites when you visit them from this browser. You can always change those choices later by clicking on the Cookie Preferences link at the bottom of the page.
If enabled:
We can improve your experience by tailoring the site and the content to things we think might be of interest
We can better keep track of your preferences — like what language you prefer to use
We will better understand your likely interests so we can provide you more relevant Adobe ads and content on non-Adobe websites and in non-Adobe apps
It will help us improve the performance of our website and those of our partners who use the Adobe Experience Cloud
If disabled:
We won’t be able to remember you from session to session so the experience may not be tailored to your interests
We’ll still count your use of our site and services
You’ll still have access to the content of the site but certain features that depend on cookies may not function
You’ll still see ads, they just may not be as relevant to you
Operate the site and core servicesOperate site and measure engagement
Always active
These cookies are required, and they are used to enable the site and related services core functionality. Without them the site could not operate, so they cannot be disabled.
These cookies enable the site and related services’ core functionality and collect statistics about user engagement, such as counting active use to help us understand trends. These cookies cannot be disabled.
Measure performance
These cookies are used to analyze site usage to measure and improve performance. Without them Adobe cannot know what content is most valued and how often unique visitors return to the site, making it hard to improve information we offer to you.
These cookies are used to analyze site usage to measure and improve performance. Without them Adobe cannot know what content is most valued, making it hard to improve information we offer to you.
Extend functionality
These cookies are used to enhance the functionality of Adobe sites such as remembering your settings and preferences to deliver a personalized experience; for example, your username, your repeated visits, preferred language, your country, or any other saved preference.
Personalize advertising
These cookies are used to enable Adobe and our partners to serve ads more relevant to your interests. Without them you will still see ads, but they might not be as relevant to you.
Personalize advertising
These cookies are used to enable Adobe and our partners to serve ads more relevant to your interests. Without them you will still see ads, but they might not be as relevant to you.