Introduction
Here are four new features added in Substance Designer 14.1 that will make your life easier.
Copying and pasting node parameters efficiently
You can now copy and paste parameters from one node to the other, provided they have the same identifier.
This is typically useful when you have the same node in greyscale and color, and want them both to have the same settings.
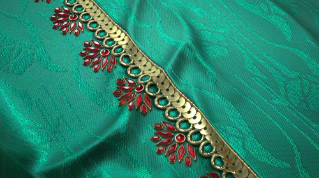
Here for instance I’m working on a fabric, and so I started by making the weave’s height with a tile sampler greyscale.
And now if I want to colorize the weave and have the colors match the height, I need basically the same node with the same settings, but in color.
The problem is that if I add Tile sampler color and connect everything I’m back to square one with the default settings.. until now what you had to do was to painstakingly spot each modified parameter… then manually replace them one by one… so copy this one… paste here… and so on and so forth, which was really a hassle.
Now all you need to do is come over to the top of the instance parameters, click on that menu on the right, copy parameters… then go to your other node… paste parameters.
And that’s it.
Now there’s two things to keep in mind if you do that: first this is just copying the parameters, if you want to sync them you’ll have to go through the usual workflow of exposing the parameter then fetching it in your other node.
Second: this copying and pasting only applies to the instance parameters, not the base parameters – so if your two nodes have different output size, random seed or tiling options, those will remain different.
That being said it remains super convenient to quickly apply the parameters of one node to the other.
If like me you’re a bit messy when you’re in creative mode, you’re
Aligning and organizing nodes in the graph
going to love this one.
You now get more tools to align your nodes.
You can find them in the toolbar, it’s that grid here..
I’m just going to drag it down here so we can see better.
Alright!
As you can see you can still align nodes horizontally … or vertically … with an additional control over which part of the nodes to align, so top, center, or bottom… now the problem with alignment is that it sometimes leads to unwanted overlaps, which is why you get this new option to stack nodes.
And this is my personal favorite: When enabled, it will push all the nodes toward the selected axis but keep a margin between them so that you get that nice bundle… this is just perfect to quickly clean up messy areas….
Like so.
You also have options to distribute nodes if you want more breathing space, which will create an even spacing between them based on the limits of your selection…and it works not matter the size of the nodes, which is really nice.
And to finish off, snap your selection to the grid with this button.
You can now keep track of a
Using the color sampler for pixel inspection
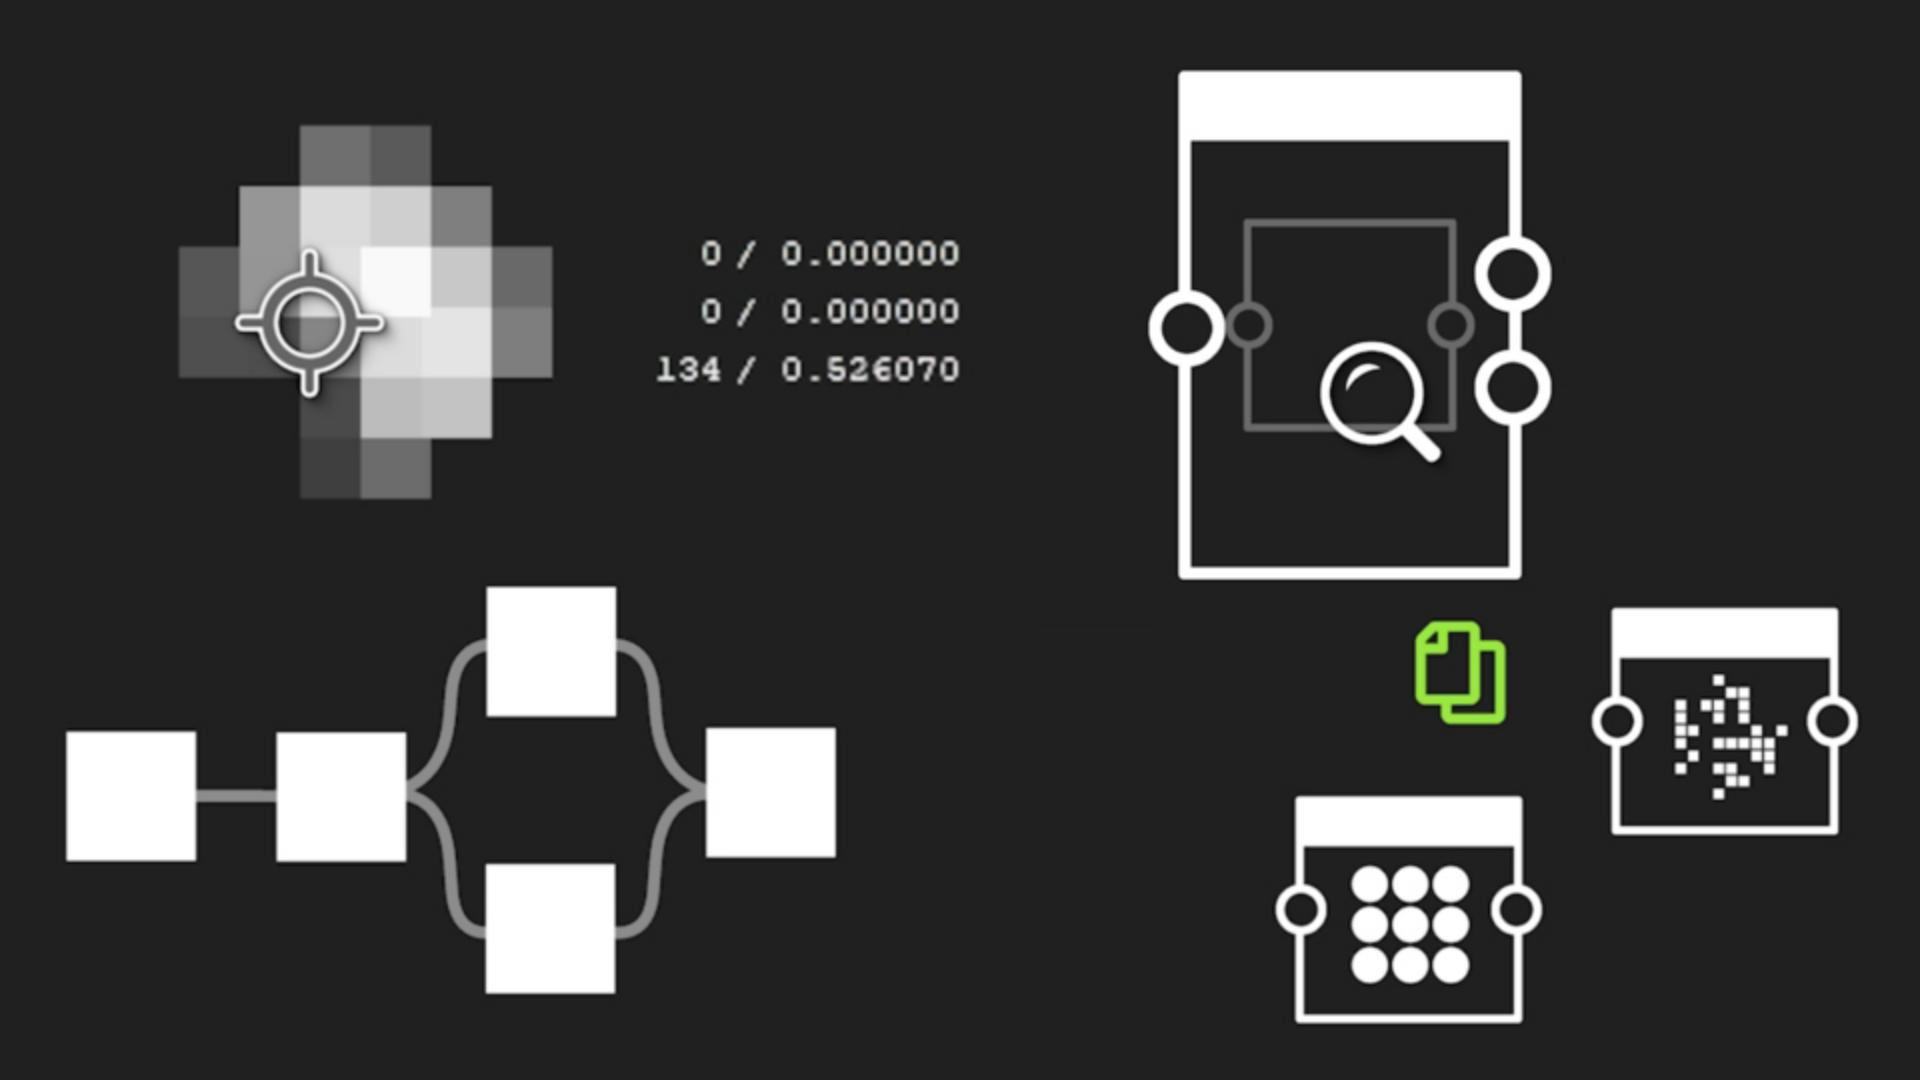
specific pixel in the 2D view using the new Color Sampler tool.
You will find it in the information tab that is here at the top, just click on the eye-dropper, then select any pixel you want.
You will then get all the information attached to that specific position, you can copy them if you need to, and what is great about that is that you can take your cursor away and still keep track of these information as you display other nodes which can be really handy to troubleshoot issues.
If you want to pin another pixel just click again on the eyedropper to select a new position.
And when you’re done you can simply close the Color Sampler panel, or right click > delete.
Here for instance I noticed on one of my renders that I have a clipping issue in my height and since these subtle greyscale variation are barely visible to the naked eye, I pinned a pixel in that area to spot the culprit.
As you can see in my final node the value on that pixel is at 255 which is a problem because it means I’m hitting the range limit in an area where I should have a slope.
But now with this pixel pinned I can just display upstream nodes while keeping an eye on that value… we’re still below the limit here.. here too…and sure enough, there’s a levels node that was messing with my values...and now it’s fixed!
Last but not least the search function has been greatly improved.
Improving workflow with the enhanced search tool
To open the search bar, simply click on the magnifier here… or for a quick access press ctrl-F while in graph view.
You can do a lot with this search and not enough people are aware of it, so let’s have a little overview together (and for a more in depth look at everything this functionality has to offer I invite you to check the documentation page, it’s filled with examples that will help you navigate your projects better and faster.)
Ok so obviously the Node finder as we call it lets you find nodes, but it can also be used to find parameters or variables.
You can search nodes using their identifier, label, or unique ID, but only the identifier will work for parameters and variables.
What’s new is that 1/ you can disable fuzzy mode in your queries, and 2/ you can search recursively through instances.
Let’s take a couple of examples to see what this means exactly.
Alright say that you got a graph from someone else and you need to quickly figure out how it’s organized.
In the case I have right here the material is quite complex and is driven by a bunch of exposed parameters, and as it stands I have no way of knowing where is what.
So let’s say I want to have a look at the node that controls the rock density, since it’s a parameter all I have to do is copy its identifier, then paste it in the search.
But now I have a problem… see, the search returned way too many nodes, most of which are not relevant.
And that’s because I’m searching in fuzzy mode.
The good news is that you can now deactivate that mode here… like so… and now, I can find at one glance the node I was looking for.
Very handy.
So that was the first improvement.
The second one has to do with what we call recursive search.
When you work in Designer often time you end up nesting graphs within graph in other words using subgraphs and when something goes wrong somewhere in those subgraphs, it affects everything downstream.
But now results are surfaced through instances and you can now navigate through them while keeping your search.
Just a quick note on that topic: make sure “editing in context” is activated in your settings, it’s in the graph tab.. here.
Alright let’s take an example.
Debugging graphs with recursive search and filtering
So here I noticed something if off with one of the links in my chain.
To investigate, I’m going to open up the console, which can be really useful to debug things or track issues when you’re not sure what’s going on.
Here I have a warning that keeps tagging this node with this specific ID: so I can just copy it and paste it in the search… make sure recursive mode is on and fuzzy mode is off… Ok the problem seems to come from this instance here, I’m going to enter the subgraph by pressing ctrl-E, or right-click “open reference in context”, and as you can see my query is still active and highlighting the node I’m looking for… so I can keep tracing the issue… until I reach the root of it all, which in this case is this get float here that is calling for a variable that I may have deleted or renamed by accident.
And that’s how this improved search can help you troubleshoot issues more easily.
We hope you like these new features and that they will make your life a little bit easier in Designer, and thanks for watching this video!