Qu Bin Weaves Fabrics with Substance Designer
Learn how to create a complex textile in Substance Designer with Qu Bin, well-deservedthird place winner of the Materialize contest .

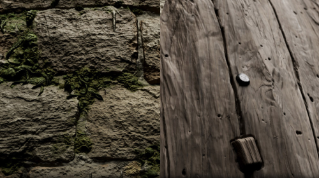
Final render in Iray

Inspiration materials
Material Analysis
Before making a material, I like to look for similar pictures as a reference. This gives me some ideas about which parts of the material are not clear enough, or missing visual information. This step helps me analyze the overall composition of the material. For this particular fabric, I split it into three parts: the main knitting thread, the fluff and the fur balls. Of these three, the knitting thread is the main component.

Base Shape
As the knitting thread is the principal part, I’ll start with that. A knitting texture is an obvious tiling texture, so our first task is to determine the shape of a single pattern and recreate it. For the base shape, I use the Shape, Skew, and Mirror nodes. After changing the shape of a circle, I get a basic pattern texture.

Adding Details
For the next step, I use the same method to create the details, then mix those details with the original base pattern. In this way, the basic shape and details are separated. That way, it’s easy to change the style of the details later, so we can produce different knitted materials. For example, if we use looser wool details, that makes the texture feel more like what you might find with a sweater.

Tiling Texture
Next, I use two Tile Sampler nodes to tile the textures. One is for the base shape, the other is for the details. The first of these is prepared for color fill, the second for height and details.

Adding Waves
After finishing the surface details, there are some obvious wave structures from the reference. Since our rendering model is just a plane, I would like to add this undulation structure to the material. I use the Curve node to make two different wave styles. One is smoother, another is sharper. Then I combine the two, and they’re ready for later use.

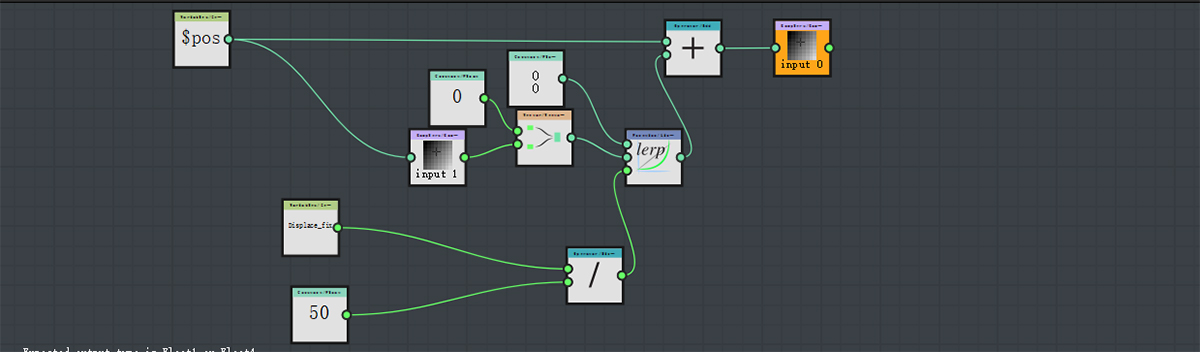
After finishing both waves and surface details, I realize I have a problem. If I have active displacement in the viewport, my texture will seem stretched out. It’s a tricky situation to resolve; after some consideration, I decide to scale the texture locally to offset the stretch.

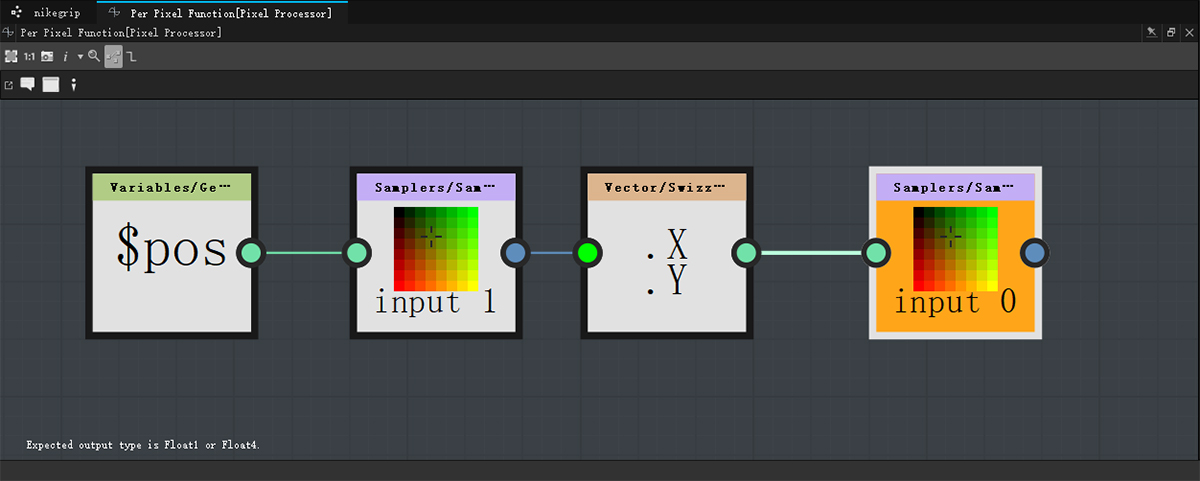
Here, I use a function to achieve this, which is an acceptable solution.
In the end, I use the Flood Fill node and the Flood Fill Random Grayscale to add the random wave to each element. After finishing the height of the knitted texture, I can start working with the fluff and the fur balls.

Fluff and Fur Ball
For the fluff part, It's very easy to create a fluffy feeling with the Scratches Generator node.

For the fur ball part, I use the Shape node and the Warp node together with the Noise node.

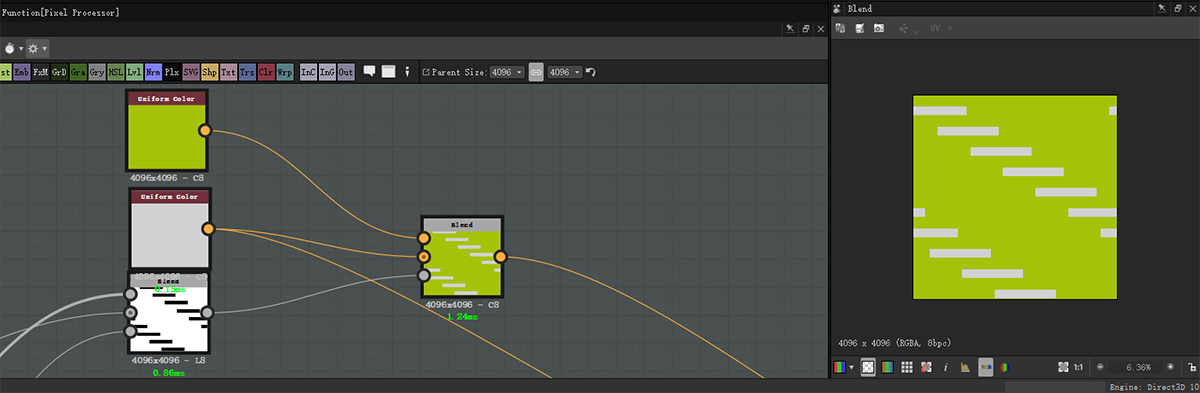
Finally, I use the Blend node to combine these three parts together. Then I use the Clouds2 node to add a slightly irregular wave to the texture. The height part is now finished.

Roughness Map
For the roughness, I don’t do a lot of adjustment. I split it into three parts, too, so that I can adjust the roughness details of each part to increase the level of the texture.

Base Color Map
The final step is the base color, which is also the least complex part. I want to adjust the color of each element after I finish, so I divide the color into three parts: black, white and green.
For the process, I put white as a background color. Next, I use a Tile Sampler node to combine with a blocky texture in order to make the mask for the green color. The Tile Sampler node allows us to adjust the green area offset easily once the map is finished.

Using it as a mask blend with white background.
I ultimately use the Cells2 node to mix the black and white areas, combine them with the blocky texture, then mix this with the green area. Finally, I get an ideal color distribution.

The next step is to make the entire texture into a knitted style. With the help of the Flood Fill node, I can achieve this with just a simple function.
After stretching the base shape, working with the Flood Fill node and the Flood Fill To Position node, I can get the coordinates of each element. Then I can convert any texture to a knitted style, as long as the element coordinates correspond to the texture.
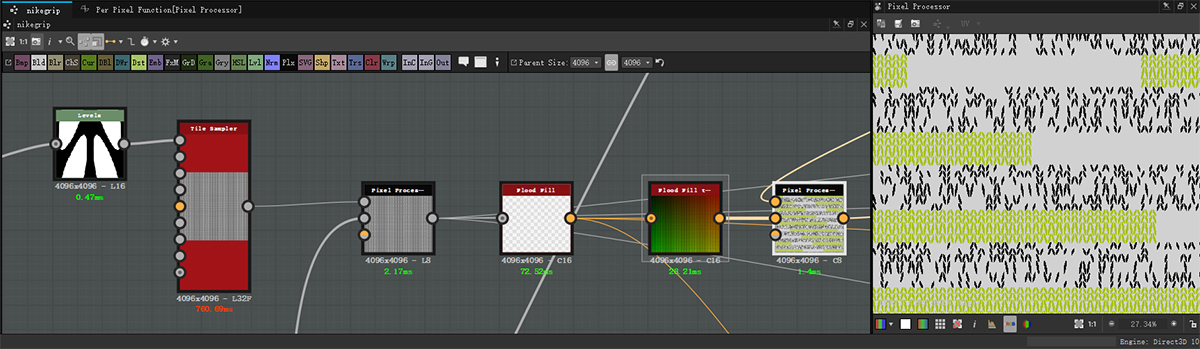
The function is quite simple.
I use the Distance node to extend the color a bit, then I combine the Flood Fill To Random Color and the Flood Fill To Random Grayscale node to the color texture, so I can get some random color variations. Then I use the Blend node to add the fluff and the fur ball to finish the final color texture.

Expose Parameters
Expose some necessary parameters for easy adjustment later.

Rendering
I’m also using Substance Designer to finish my texture. The render is Iray, the scene uses Plane (Hi-Res), and the scene setting is in Mesh Display Component. I also change the Subdivision mode to Parametric, but the Subdivision quantity can be set according to my needs.

I can also adjust some post effects in the camera setting, such as exposure, saturation, gamma, and depth effects. The rendering resolution setting is also the same here. Of course, don’t forget to change the Use Window Resolution to false.

Final Render