How to get started in real estate photography.
Every working real estate photographer has their own approach, style, and vision. Get a foot in the door with these interior photography insights.
Understanding real estate photography.
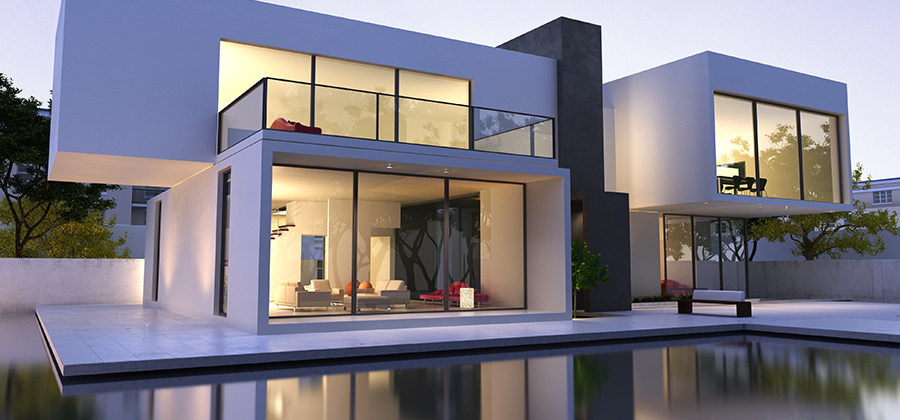
Real estate photography stands apart from other photographic disciplines in its combination of art and business. To be successful as a real estate photographer, you need to understand both. Explore these tips from professional photographers, and prepare for your start in the world of real estate photography.
Shooting real estate photography.
Half the challenge with real estate photography is developing your individual artistic style. “Your style is your business card. It’s your marketing, your trade,” explains real estate and aerial photographer Jonathan Boone. Having a polished, consistent style gets you more business.
You can’t have much control over the subject you’re photographing in real estate, which means your choices on composition and lighting during the photo shoot are incredibly important. “How you edit the photos — the angles that you select to shoot, the subjects that you choose to select — all of those things go into your style,” Jonathan Boone says. You also need to accurately portray your subject. Camera angle makes a huge impact on that accuracy, so take your time when finding the best angle for each room. His brother, photographer Gregory Boone, adds, “If you’re in a kitchen, and your camera is up high pointing down, it feels like you're trying to make that kitchen look bigger than it is.” This can make a photo feel untrustworthy — the opposite of what you want people to think. Choose your angles carefully, and eliminate unintentional distortion by placing your camera on a tripod that’s level to the floor.


Technical choices to consider.
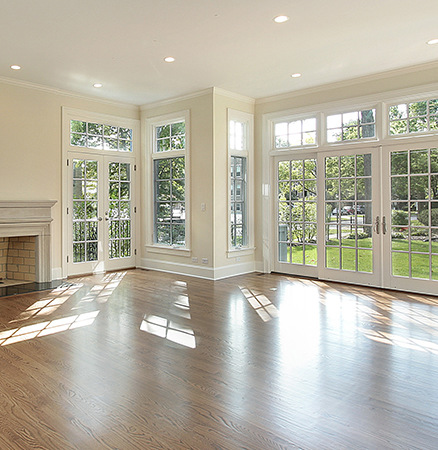
When it comes to gear, a tripod, extra batteries, and backup storage are essential. Experienced real estate photographer Jillian Lancaster suggests, “Bring your wide-angle lenses, but also carry a macro lens for detail and close-up shots.” A focal length starting at 14mm or 16mm is a good choice for real estate, as it allows you to capture the whole room in one photo, with minimal distortion. “Whatever lens you use,” Lancaster says, “the most important thing is to know your equipment. Know how your camera works, know how your editing software works, and know what your limitations are.” It’s much simpler to take a high-quality photo than to edit a subpar image later.
Example of barrel distortion
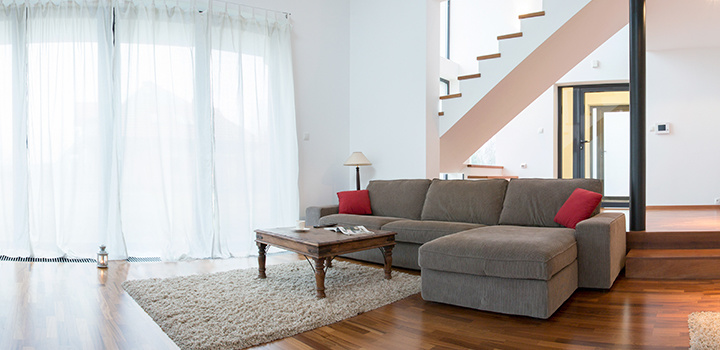
When working with an ultra wide-angle lens, be mindful of its potential effect on photos. “It’s easy to accidentally get some barrel distortion, where the ends of the photos start to round or curve,” explains interior and real estate photographer Crosby Dove. While these distortions can be an interesting artistic choice, they’re not ideal for great real estate photos. If the vertical lines in the room are distorted, it can look unrealistic and turn off potential home buyers.
Lighting choices to consider.
When it comes to lighting real estate photos, photographers have different preferences. Some choose to turn off all the lights in a house and photograph using only natural light from the windows. This eliminates unintentional color mixing from different lightbulb temperatures. This mixing can give unnatural hues to photos, requiring more editing in post-processing. Other photographers choose to keep the indoor lights on, or to supplement the natural light with strobes or always-on lighting.
If you’re working in low-light settings, be careful when using a wider aperture. This can give you a shallow depth of field and put half the room out of focus. Instead, use a narrow aperture and a slower shutter speed to compensate for the light, and you can achieve a deeper depth of field. Many of these choices come down to personal preference and style, which can be what separates your work from others.
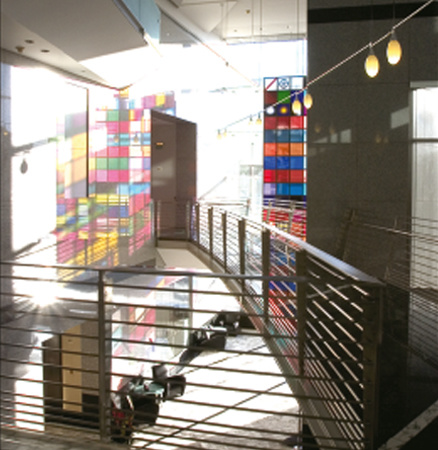
First exposure image
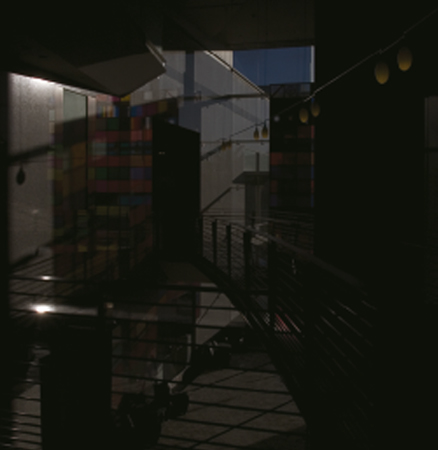
Second exposure image
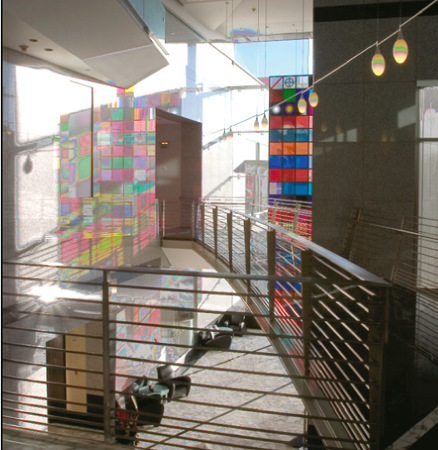
Combined images
Next, consider your exposure. Dove explains, “If you were to look out the window, you can still see inside the room that you're in as well as outside. Cameras can’t do that on a single exposure.” Take multiple photos at different exposures to capture the light indoors and outdoors. This is where a tripod comes in handy, so you can capture identical angles of the same room and then combine those photos in post-processing to capture a high dynamic range (HDR).
Tips for pricing & the business side of real estate photography.
Real estate photography is about selling real estate, so the art of working with realtors is where you can succeed or fail. “It’s how you arrive at a home and operate with the agent or the client,” Gregory Boone explains. “That’s a big part of what your style is as a business and as a real estate photographer.”
Build up your soft skills and cultivate a professional persona for dealing with your clients. Jonathan Boone adds that “taking an extra 15 to 20 minutes to chat with the homeowner, to explain what you're doing and what your technique is, goes a long way.” Also, prioritize open communication with your realtor clients. Getting them edited, organized photos on time can make a big difference. Selling a house is a complicated process, so make getting the photographs done the easiest part of it, and you’ll be sure to succeed. Creating a polished, updated website is also important for crafting your business persona.
Every real estate agent is different, and they want different things. “You’ll have some clients that want to show everything and some that maybe just want 10 or 15 photos,” Dove notes. “They want the potential buyer to set up a tour to see more.” Consider offering different levels of service, so you can fulfill every client’s needs and budget. When pricing new listings, consider charging by room or square footage and then consider offering broader packages that include more detailed work. Be up front with your realtor clients about costs, and don’t be afraid to mention time involved in Adobe Photoshop or Lightroom post-processing when discussing turnaround time. They just want their real estate listing to look good, so do what you can to help.
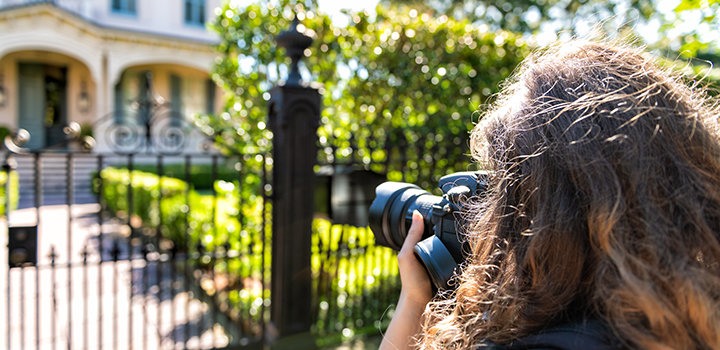
When you’re getting started, Lancaster advises that you “value your time, value your money, create a business plan, and don't give away your work for free.” Practice in your house or your friends’ homes, or go to churches or public buildings to gain experience capturing different architecture for your portfolio. Once you’ve landed a few jobs, be sure to ask for feedback. See what your clients liked about your work, and ask about areas that need improvement. Real estate photography takes time and practice to master, so keep pushing yourself to improve the artistic and financial side of your business.
What comes next for your real estate photography business.
Always be willing to learn new things. Technology and equipment are constantly changing, as are home decor and real estate trends. “When I first started, the color palettes [in houses] were rich reds and dark blues and greens,” Lancaster says. “You’d go into all these craftsman homes with super vivid walls. Now everything is just painted white.” Learning to adjust your photography style to changing home trends is important. Lighting that works well with colored walls may wash out a white-walled room.
Aerial and drone photography, virtual staging, virtual tours, video walkthroughs, and 3D renderings are all major technical innovations hitting the real estate sphere. Keeping up with these changes takes time and money. Don’t jump on every trend that comes your way. Perfect your skills in one area before offering more options that could turn out subpar. Your goal is to make the house look good, so build up skills that help you accomplish that goal.
Contributors
Do more with Adobe Photoshop Lightroom.
Edit photos easily with Lightroom presets, Super Resolution, easily share photos from any device, and access your projects anywhere with cloud photo storage management.
You might also be interested in…
Understanding shallow depth of field.
Explore how shallow depth of field can add dimension to your photographs.
Discover ways to select the ideal focal length for any and every photo.
Discover how adjusting shutter speed can help you capture clean shots or motion-filled moments.
Paano gamitin, at hindi sundin, ang rule of thirds.
Pahusayin ang mga kasanayan mo sa composition ng larawan para maka-capture na mga mas kamangha-manghang image.


