PHOTOGRAPHY
How to change hair colour in Photoshop.
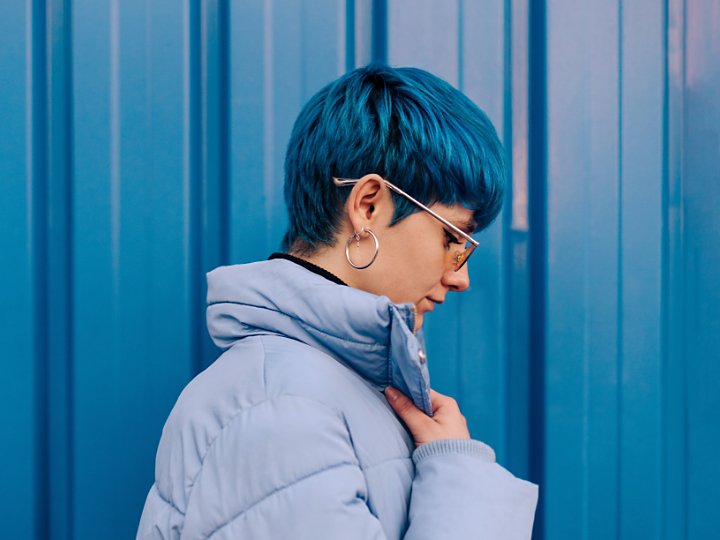
Have you wondered what you’d look like if you dyed your hair? With Adobe Photoshop, you can find out without ever having to reach for the bleach.
Easily preview different hair colours with Adobe Photoshop.
Follow four fast steps to creatively experiment with hair colour on anyone in your photos. Learn how to duplicate a photo, use layers to create a mask and work with colourising and editing tools to preview a whole new you (or your friends.) Get the details below.
Fast and easy: A hair colour change tutorial.
There are filters on Tiktok, Instagram and Snapchat that allow anyone to preview what they’d look like with a particular hair colour. If you’ve ever longed for candy floss streaks, desired a honey brown tint or considered blonde highlights, your phone can probably give you a pretty good estimation of your potential new ‘do. Unfortunately, though, these video filters are usually pretty poor quality. All this may have left you wondering if there is a way to create the same effect yourself on a higher quality photo. Luckily, as is often the case with Photoshop, you can do it in just a few steps.
It won’t look quite as authentic as your actual hair, but the following tutorial will help you change hair colour in any of your photos.
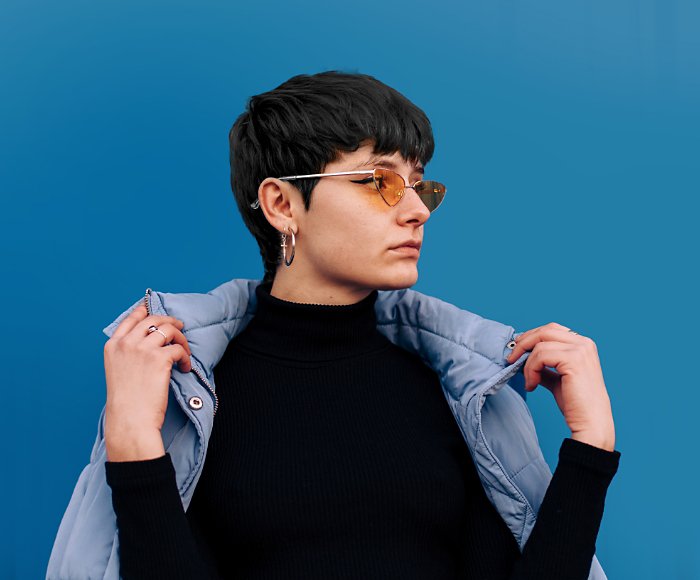
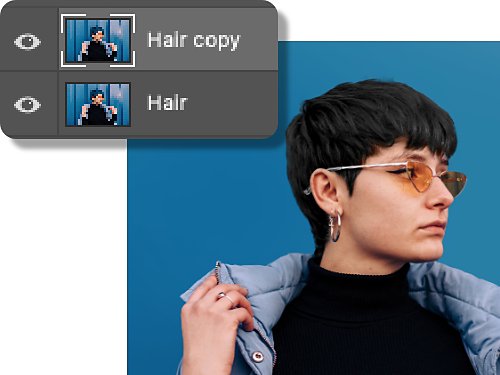
Step 1: Duplicate the layer in Photoshop.
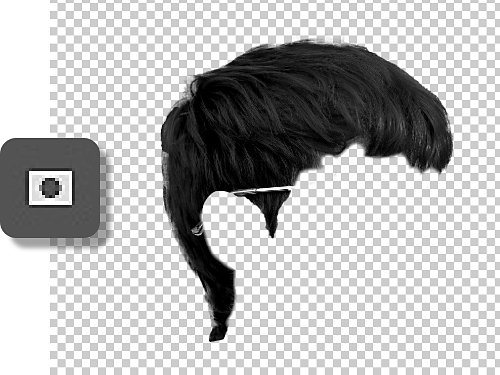
Step 2: Create a mask of the hair — and edit it.
There are many ways to cut out a piece of an image using Photoshop — you can see a full guide to making cutouts here, but for this tutorial we’ll walk through a standard method. If you have your own preferred method, feel free to deviate from the following instructions and skip to step 3.
Standard method for creating a layer mask: Start by using your favourite selection tool to draw a rough shape around the hair. Then, click the mask icon in the layers panel. If you click the eyeball beside your background layer, you might notice that the only thing you can see now is the hair. If so, you have successfully created a mask.
Anything you draw on this mask (shown in the layers panel as a black and white square to the right of the layer) in black will disappear and anything you draw in white will be visible. To edit the mask more closely, go in with a small brush of medium softness and draw black on the parts you don’t want until the hair is floating on its own in the transparent background checkerboard.
Once you’ve formed your mask, you can double click it to edit the mask’s smoothness, fade and contrast. You can also shift the outline of the mask further or closer using the “shift edge” controls. When dying your hair to be lighter or more vibrant, you might need a more precise mask to bring the effect out to all those edges. When making your hair darker, the final effect usually looks more realistic with a soft mask. Of course, these aren’t hard and fast rules. Feel free to revisit this step and experiment with the mask options after you’ve coloured the hair, since it’s often easier to see when you’re working on top of your original photo.
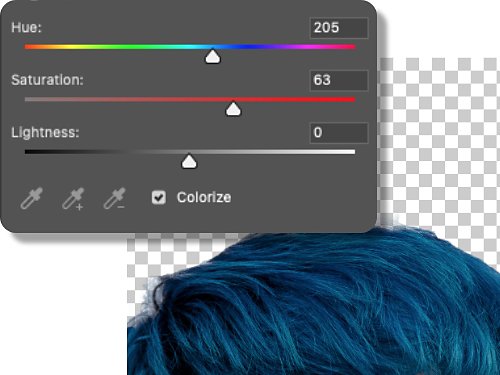
Step 3: Use the Colourise tool to “dye” the hair.
Once your mask is prepared, click the image of that layer. Open the Hue/Saturation adjustment layer window under Image > Adjustments. Click the Colourise button on the bottom of the pop-up and drag the sliders until you find your desired hair colour. You might find that you need to make it duller or darker than you expected to look natural in the photo.
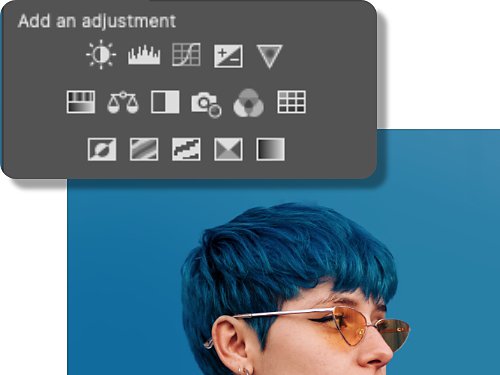
Step 4: Edit the mask to be more realistic.
Now it’s time to turn on your original photo layer to see your hair colour preview. Often, it can look a little shocking — you’ll probably have to go back and edit a few things to make it look more natural. To fix problems with your Layer Mask, you can clean it up with the brush tool or go into the Select and Mask... workspace for lots of other ways to quickly refine it.
If you loved this Adobe Photoshop tutorial, then you can play around with altering other things, too — changing your shirt colour, your eye colour etc. And if you’re still thinking about the Snapchat filter that dyes your hair for you? Try this tutorial for creating your own Snapchat filter.
Not sure which apps are best for you?
Not sure which apps are best for you?
Take a minute. We'll help you to figure it out.
Take a minute. We'll help you to figure it out.