.

How to combine photos in Photoshop Elements

Blend a subject from one photo into the background of another, or bring pieces from several photos together into a single scene. Combine Photos walks you through importing, editing, and blending your images so the final result looks like one seamless photo.

Explore Photoshop Elements

Combine Photos, Picture

What is the Combine Photos feature?

Combine Photos is a feature in Photoshop Elements that lets you bring two or more photos together into a single image. You might place a subject from one photo onto the background of another, remove the background from a photo entirely, or layer in extra elements from other photos to build a new scene.

You can open Combine Photos from Guided mode, from the Image menu, or from the Elements Organizer. All three paths lead to the same workspace, where you’ll import your photos, edit each one, and match the tone so everything blends together naturally.

Time required: About 10–15 minutes. Skill level: Beginner to intermediate.

Before you begin, make sure you have:

  • Photoshop Elements installed and open on your computer. Don’t have it yet? Start a free 7-day trial.
  • At least two photos you’d like to combine, such as a subject photo and a background photo.
  • A rough idea of what you’d like to create. Even a simple plan helps, like wanting to put your dog into a garden photo.

Step 1: Open Combine Photos and import your photos

You can open Combine Photos in one of three ways: in Guided mode, click Combine and then Combine Photos. In the main editor, go to the Image menu and choose Combine Photos. Or in the Elements Organizer, go to the Edit menu, choose Combine, and then Combine Photos.

Once the workspace opens, use the Import panel to add your photos. You can bring in photos from your computer, from your Elements Organizer catalog, or from free Adobe Stock images. You can also use File > Open to add photos to the Photo Bin and drag them onto the canvas.

Tip: Start with a subject photo that has good separation between the subject and its background, and a background photo with clear, even lighting. The more natural the source photos, the easier the final blend will look.
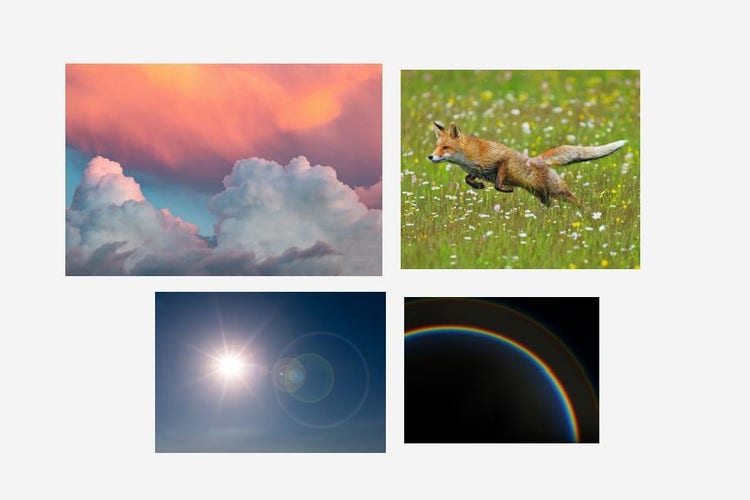
1. Choose your photos., Picture

Step 2: Choose a layout

While you're in the Import panel, pick a layout for your finished image. Photoshop Elements includes layout options across eight categories: Standard, Instagram, Facebook, YouTube, TikTok, Snapchat, Twitter, and Threads. The default layout uses a 16:9 aspect ratio.

Not sure which layout to pick? If you’re not planning to post your combined photo to a specific platform, the Standard category is a safe, flexible starting point. You can always start over with a different layout if the first one doesn’t work out.

Step 3: Remove or extract a subject

Click a photo on the canvas to select it, then use the Edit panel to work on it. Editing options only apply to whichever photo is currently selected, so click each photo you want to edit before adjusting it. You can also toggle on Show Layers at the top of the panel to select photos from a list instead of clicking on the canvas.

To remove a background automatically, click Remove Background. Photoshop Elements detects the subject and removes everything around it. Use the Reveal brush to paint back in anything you want to keep, or the Hide brush to paint out anything you want removed, and adjust the Size slider to control how large your brush strokes are. Click Done when you’re happy with the result.

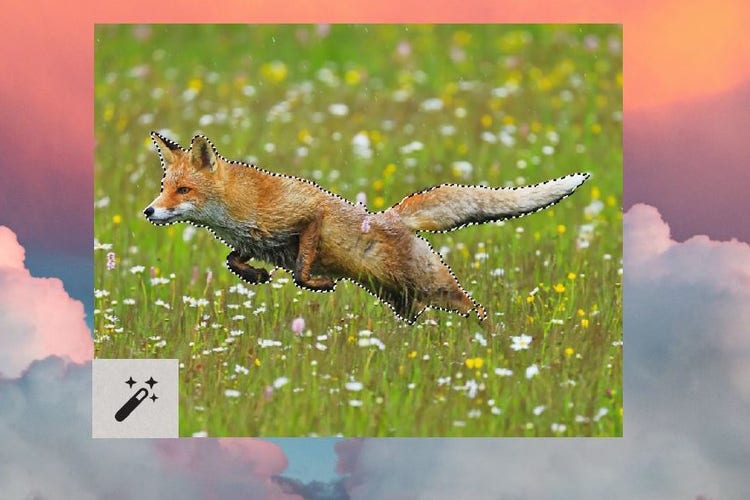
If you’d rather select a specific object instead of removing the whole background, use Extract Objects and choose one of four selection tools: Auto draws a box around the object and detects its edges automatically. Quick selects based on color and texture when you click or drag. Brush lets you paint directly over what you want to select. Refine helps you add to or remove from an existing selection by detecting edges more precisely.

Tip: Auto is the quickest starting point for objects with a clear outline. If the edges of your subject are more complex, like hair or fur, switch to Brush or Refine for more control.
3. Extract objects to combine., Picture

Step 4: Set your background photo

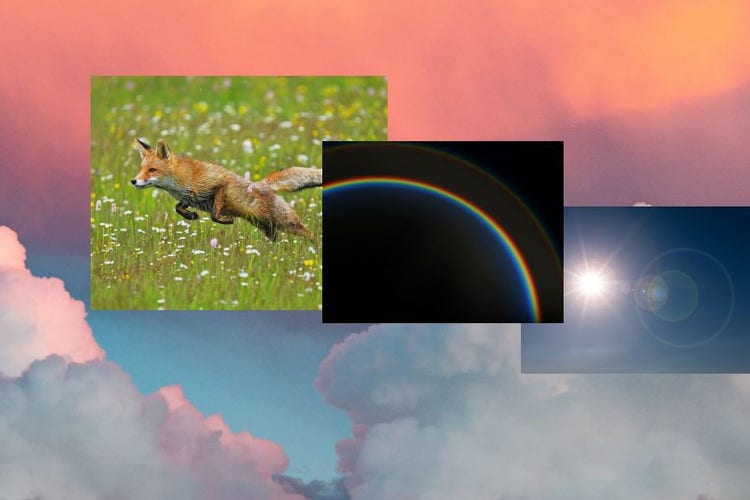
Select the photo you want to use as your base, then click Use as Background in the Edit panel. This tells Photoshop Elements which photo the others should be layered onto. Once it’s set, select the Move tool from the toolbar on the left to scale or reposition the background so it fills the canvas the way you want.

You can also flip or rotate any selected photo using the Flip and Rotate buttons in the Edit panel, which is useful if a subject is facing the wrong direction for your composition.

Working with several photos at once? Click on each one, on the canvas or in the Layers list, to bring up its own editing options. Every photo in your composite can be edited independently.

2. Select your background image., Picture

Step 5: Adjust opacity and blending

With a photo selected, use the Opacity slider in the Edit panel to make it more or less transparent. This is useful for softening a layered element so it doesn’t overpower the rest of the composition.

Use the Blend dropdown to choose a blending mode, which changes how the selected photo’s colors interact with the layers beneath it. Try a few different modes to see how each one changes the look of your composite.

Tip: Blending modes can produce dramatically different results depending on the colors and brightness of your photos. There's no single right setting, so it’s worth clicking through several options before settling on one.
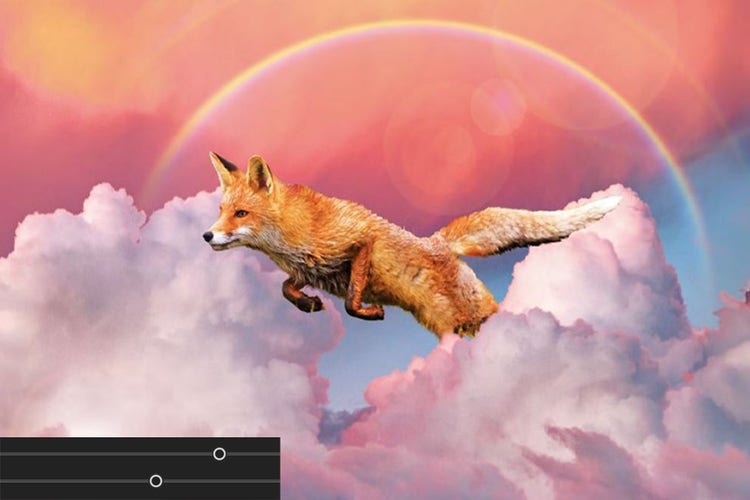
4. Blend and match., Picture

Step 6: Match the tone

Once your composite is roughly in place, switch to the Match Tone panel. Click Auto Match Tone to let Photoshop Elements automatically blend the color and lighting of your extracted subject with the background. This step often makes the biggest difference in how convincing your final image looks.

After applying Auto Match Tone, fine-tune the result using the sliders for contrast, saturation, temperature, and luminance. If you want to start over on just these adjustments, click Reset. If you want to remove Auto Match Tone entirely and go back to how the photo looked before, click the Reset Image icon near the top right of the panel.

Don’t skip this step. Even a well-cut subject can look pasted in if the lighting or color temperature doesn’t match its new background. A minute or two with Match Tone usually solves this.

4. Blend and match., Picture

Step 7: Save your result

If you notice any small spots or blemishes left over after blending, use the Spot Healing Brush tool from the toolbar on the left to clean them up before you finish. The Hand and Zoom tools in the same toolbar can help you pan and zoom in for a closer look while you work.

When you’re happy with your composite, go to File > Save As and give it a new name. This keeps your original photos safe and untouched on your computer.

Helpful hints for better results

Pick photos with matching light direction

A composite looks most convincing when the light in your subject photo and your background photo comes from a similar direction. If one photo is lit from the left and the other from the right, the result can look slightly off no matter how well you match the tone.

Use Refine for tricky edges

Hair, fur, and other fine details are the hardest parts of any selection. If Auto or Quick selection leaves rough edges, switch to the Refine tool to clean things up before you move on to blending.

Save Auto Match Tone for last

Get the position, scale, and opacity of your photos looking right first, then apply Auto Match Tone. Making tone adjustments before your composition is finalized often means redoing them once things shift.

Zoom in to check your edges

Use the Zoom tool to get a closer look at where your subject meets the background. Small imperfections are much easier to spot, and fix, at a higher zoom level.

Common questions


Save today