
What are text styles?
Text styles in Photoshop Elements are preset visual effects you can apply to any text layer with a single click. They include effects like drop shadows (which lift text off the photo background), outer glows, bevels, embossing, neon effects, and more. Each style is applied instantly and can be swapped or removed at any time.
They're particularly useful when you're placing text over a photo and want to make sure it's readable — a drop shadow or outline can make even light text stand out clearly against a busy background. But they're equally useful for adding decoration and personality to titles, cards, and creative projects.
Time required: About 3-5 minutes. Skill level: Beginner-friendly
Before you begin, make sure you have:
- Photoshop Elements installed and open on your computer. Don't have it yet? Start a free 7-day trial.
- A photo you'd like to add text to.
- Some text already in mind. You'll add it in the first step using the Type tool.
Step 1: Add your text in Advanced mode
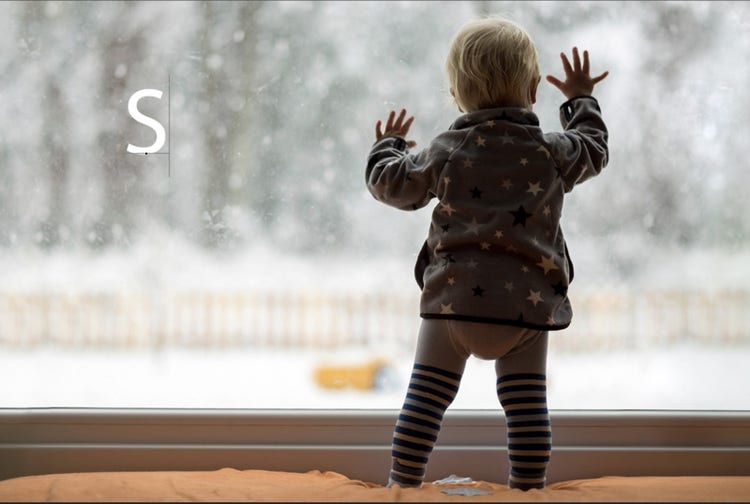
Open your photo in Advanced mode. In the toolbar on the left, click the Type tool — it looks like the letter T. Click anywhere on your photo and type your text. When you're done, click Done (the checkmark in the Tool Options bar) to confirm the text layer.
Step 2: Open the Styles panel
With your text layer selected, look for the Styles icon in the panel on the bottom right side of the screen. Click it to open the Styles panel, which is where all the preset styles are stored.

Step 3: Browse and apply a style
The Styles panel has a dropdown menu at the top with categories of preset styles. Click the dropdown to browse categories like Drop Shadows, Outer Glows, Bevels, and more. Click on any style thumbnail to apply it to your text instantly.
You can try as many styles as you like — each one replaces the previous, so there's no need to undo between attempts. Just keep clicking until you find one that works.

Step 4: Save your result
Once you're happy with how the text looks, go to File > Save As and give your edited version a new name. This keeps your original photo safe and untouched on your computer.
Helpful hints for better results
Start with Drop Shadow for readability
If your goal is simply to make text readable over a photo, a drop shadow is the most reliable option. It works on almost any text color and background combination, and a subtle shadow looks more refined than a heavy one.
Match the style to the mood of the photo
A neon glow style suits a fun, energetic photo. A soft outer glow works well for something romantic or ethereal. A clean drop shadow is at home in almost any context. Spending a moment thinking about the mood of your photo before picking a style helps you find a better match.
Combine styles with other text techniques
Text styles work well alongside the Warp Text tool and Text on a Shape. You can place text on a shape path and then apply a style, or warp your text and add a glow on top. The effects stack, so you can build up a look that's uniquely yours.
You can always undo
Press Ctrl+Z on a PC or Command+Z on a Mac to undo any step. You can also remove a style completely by selecting No Style from the Effects panel dropdown, returning the text to its unstyled state.
Common questions

Photoshop Elements 2027
Photoshop Elements &
Premiere Elements 2027
Create
- Insert an object into a photo
- Warp text into curves and shapes
- Extend a photo background
- Remove objects and people from photos
- Remove or replace your background
- Add text styles like shadows and glows
- Touch up portraits
- Create a custom pattern brush
- Move, scale, or duplicate an object
- Combine multiple photos into one
- Add text to a shape
Connect