.

How to insert an object into a photo in Photoshop Elements

The Insert Object brush makes it easy to add something new to any photo — a flower, an umbrella, a bird in the sky. You simply brush over the spot, type what you want, and Photoshop Elements creates it for you. No advanced skills needed.
Explore Photoshop Elements

What is the Insert Object brush?

The Insert Object brush is a feature in Photoshop Elements that uses artificial intelligence to add new objects to your photos. Instead of having to find, cut out, and paste in a separate image yourself, you just paint over the area where you want the new object to appear and describe it in plain words. Photoshop Elements then generates several realistic options for you to choose from.

It works best for adding things that fit naturally into the scene — an extra flower in a garden, a boat on a lake, a butterfly on a branch. The result blends in with the existing lighting and colors of your photo automatically.

Time required: About 2–5 minutes. Skill level: Beginner-friendly.

Before you begin, make sure you have:

  • Photoshop Elements installed and open on your computer. Don't have it yet? Start a free 7-day trial.
  • A photo you'd like to edit (see supported formats)
  • A rough idea of what object you'd like to add

Step 1: Open your photo

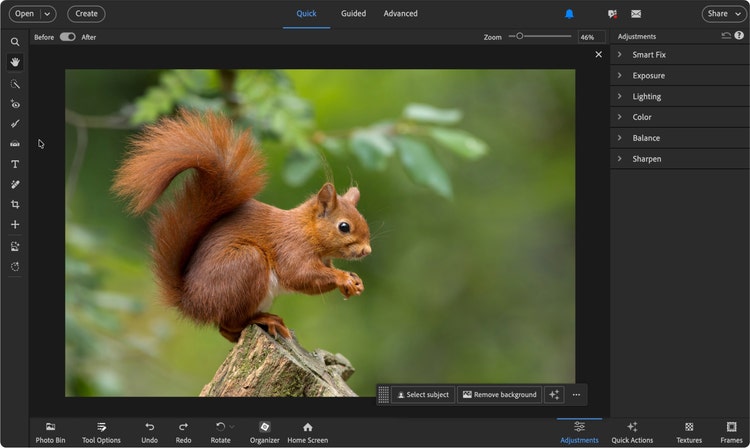
Open Photoshop Elements and choose a photo you want to edit (File > Open and choose your photo). Drag and drop the photo into the editor window.

Don't worry about choosing a perfect photo — the Insert Object brush works on almost any image, whether it was taken with a phone or a camera.

Photo opened in the editor. Full canvas, no tools selected.

Step 2: Select the Insert Object brush

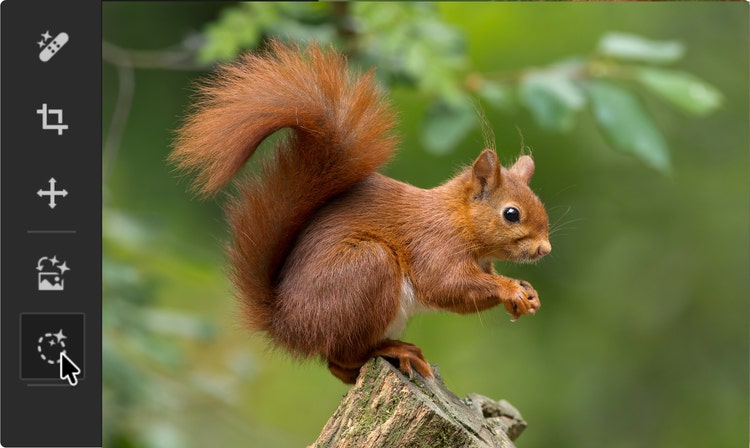
In the toolbar on the left side of the screen, find and click the Insert Object brush. It looks like a dotted circle with a small sparkle symbol next to it. If you're not sure which one it is, hover your mouse over each tool — a small label will appear showing its name.

Tip: You can also find the Insert Object brush by going to the menu at the top and choosing Edit > Insert Object. Either way gets you to the same place.
Insert Object Brush highlighted in the toolbar

Step 3: Brush the area where the object should appear

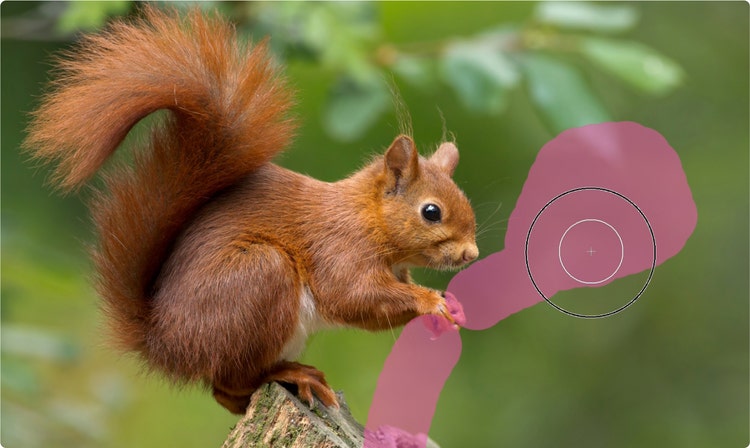
Click and drag your mouse to paint over the area of your photo where you want the new object to appear. You'll see a colored overlay covering the area as you brush — that's perfectly normal. It just shows Photoshop Elements where to place the new object.

Tip: Try to brush an area that's roughly the same size as the object you have in mind. If you want to add a small bird, brush a small area. If you want a large tree, brush a larger one. This helps Photoshop Elements understand the scale you're looking for.
Brushed selection visible on the photo

Step 4: Describe the object you want to add

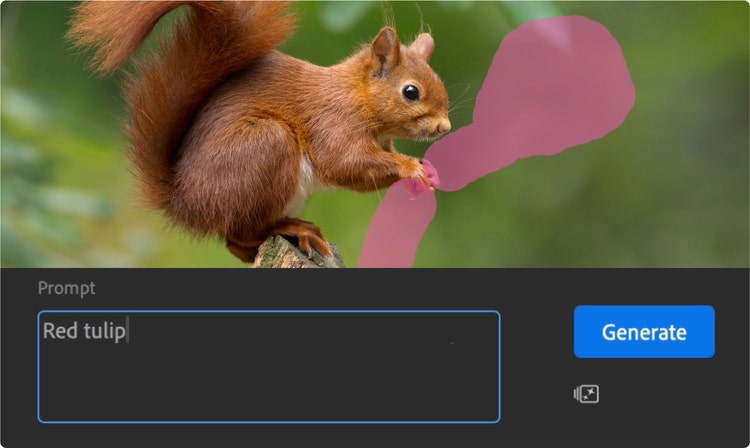
A text box will appear where you can type a short description of what you'd like to add. Use plain, everyday language — there's no special code or format to follow. For example: "a red umbrella," "a small brown rabbit," or "a wooden park bench."

Tip: Adding a detail or two — like color or material — helps guide the result. "A yellow rubber duck" will give you a more specific result than just "a duck." But even simple descriptions work well.
Prompt field with example text entered

Step 5: Choose a generated result

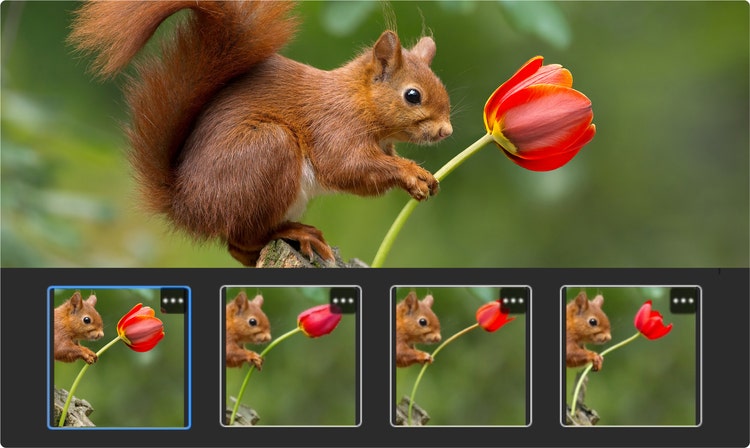
After a few moments, Photoshop Elements will show you several different versions of your object — usually three or four options displayed side by side. Take your time looking at each one and choose the one that looks most natural in your photo.

If none of the options feel quite right, click Generate again to see a fresh set of results.

Not happy with any of them? That's completely fine. You can also try adjusting your description slightly — for example, if "a red rose" isn't working, try "a single red rose in bloom." Small changes can make a big difference.

Multiple generated options shown side-by-side

Step 6: Apply the result and continue editing

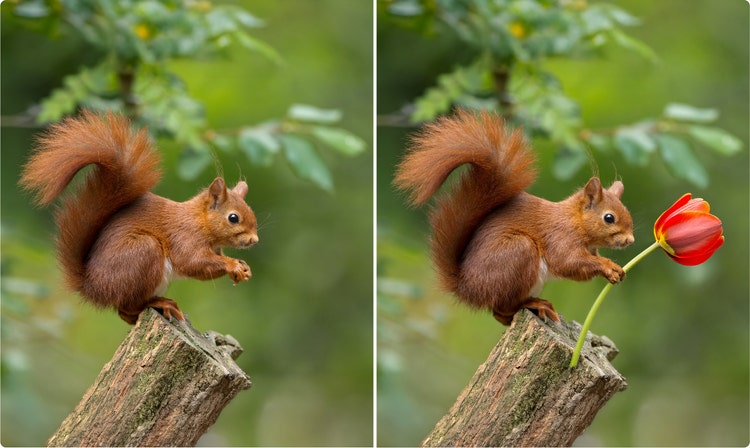
Click on the result you prefer and go to File > Save. The object will be added to your photo. From here, you can continue editing as normal — adjusting the colors, adding a filter, or cropping the image.

If you change your mind after applying, you can always undo the change by pressing Ctrl+Z on a PC or Command+Z on a Mac, and try a different option.

Before and after with inserted object applied

Helpful hints for better results

Generate more than once

If the first set of results isn't quite what you had in mind, just click "Generate again." Each time you do, Photoshop Elements creates a completely new set of options. Many people find the best result on their second or third try.

Think about the light in your photo

The tool automatically tries to match the lighting, but if you're adding something to a sunny outdoor scene, mentioning that in your description can help — for example, "a sunlit wooden fence" rather than just "a fence."

Smaller brush areas blend more naturally

If you're adding a small object, try to keep your brushstroke close in size to the object itself. A small, well-placed brushstroke usually gives cleaner results than painting a very large area for a small object.

You can always undo

Press Ctrl+Z (PC) or Command+Z (Mac) to undo any step. Photoshop Elements keeps a long history of your actions, so you're never stuck with a result you don't like.


Save today