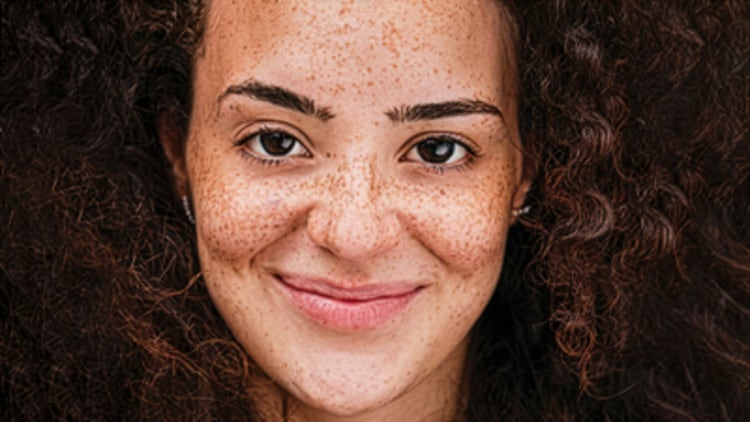
.

How to touch up portraits in Photoshop Elements

The Perfect Portrait guided edit gives you a simple set of tools to make portraits look their best. Smooth skin, whiten teeth, open closed eyes, and more — all from one place, with no experience needed.

Explore Photoshop Elements

What is the Perfect Portrait guided edit?

Perfect Portrait is a guided edit in Photoshop Elements that brings together a set of portrait retouching tools in one easy-to-use panel. Instead of hunting through menus or learning complex techniques, you get everything you need in a single, step-by-step workflow.

You can fix common portrait problems — like a blink at the wrong moment or uneven skin — and make subtle enhancements like brightening eyes or adjusting a smile. Each adjustment is simple to apply and easy to undo if you change your mind.

Time required: About 5–10 minutes. Skill level: Beginner-friendly.

Before you begin, make sure you have:

  • Photoshop Elements installed and open on your computer. Don't have it yet? Start a free 7-day trial.
  • A portrait photo you'd like to improve. The guided edit works best on photos where a face is clearly visible.
  • For the Open Closed Eyes feature, a second photo of the same person with their eyes open.

Step 1: Open your photo in Guided mode

Open your portrait photo in Photoshop Elements. At the top of the screen, you'll see three editing modes: Quick, Guided, and Advanced. Click Guided to switch to that mode.

Tip: The Perfect Portrait tools work best on photos where the face is well-lit and reasonably large in the frame. A close-up or mid-length portrait gives the tools the most to work with.
FLAWLESS PHOTOS, Picture

Step 2: Open the Perfect Portrait guided edit

In the panel below the Guided mode, click the Special Edits tab. Scroll down until you see Perfect Portrait and click it to open the guided edit. The panel will update to show all the available portrait tools.

Step 3: Smooth skin and remove blemishes

Click Smooth Skin in the panel to even out skin texture and soften the appearance of fine lines. A slider lets you control how much smoothing is applied — move it to the right for more effect, or back toward the left for a lighter touch.

To remove a specific blemish, click Remove Blemishes and then click directly on the area you'd like to clean up. Photoshop Elements will blend it with the surrounding skin tone automatically.

Tip: A light application of Smooth Skin often looks more natural than a heavy one. Try starting at around the midpoint of the slider and adjusting from there.

SMOOTH SKIN, Picture

Step 4: Enhance eyes and teeth

Click Brighten Eyes to make the eyes appear clearer and more alert. The tool automatically identifies the eyes in your photo and applies the effect — you can use the slider to adjust the intensity.

Click Whiten Teeth to reduce yellowing and brighten the smile. As with Brighten Eyes, Photoshop Elements finds the teeth automatically, and you can fine-tune the result using the slider.

Tip: Both of these adjustments work subtly by design. A small increase goes a long way — if it starts to look unnatural, dial it back a little.

Step 5: Fix closed eyes

If someone blinked at the wrong moment, click Open Closed Eyes in the panel. Photoshop Elements will ask you to select a second photo of the same person where their eyes are open. It then copies the open eyes from that photo into your original, blending them in so the result looks natural.

Tip: The best source photo for Open Closed Eyes is one taken around the same time, with similar lighting and a similar head angle. A photo from the same session usually works well.

Step 6: Apply and save your result

Once you're happy with the adjustments, click Next in the Perfect Portrait panel. Your edited photo will appear in the main editor window, where you can continue making changes or go straight to saving.

By using the panel on the right-hand side, you can Save or Save As and give your edited version a new name to keep your original photo safe and untouched.

Helpful hints for better results

Less is usually more

Portrait retouching looks best when it's subtle. Try applying each adjustment at a lower intensity first and gradually increase it if needed. The goal is a natural improvement, not a dramatic transformation.

Apply adjustments one at a time

It's easier to control the overall result when you apply and assess each adjustment individually. Make one change, step back and look at the whole photo, then decide whether to keep it before moving to the next.

You can always undo

Press Ctrl+Z on a PC or Command+Z on a Mac to undo any step. Photoshop Elements keeps a full history of your edits, so you're never stuck with a result you're not happy with.

Common questions


Save today