



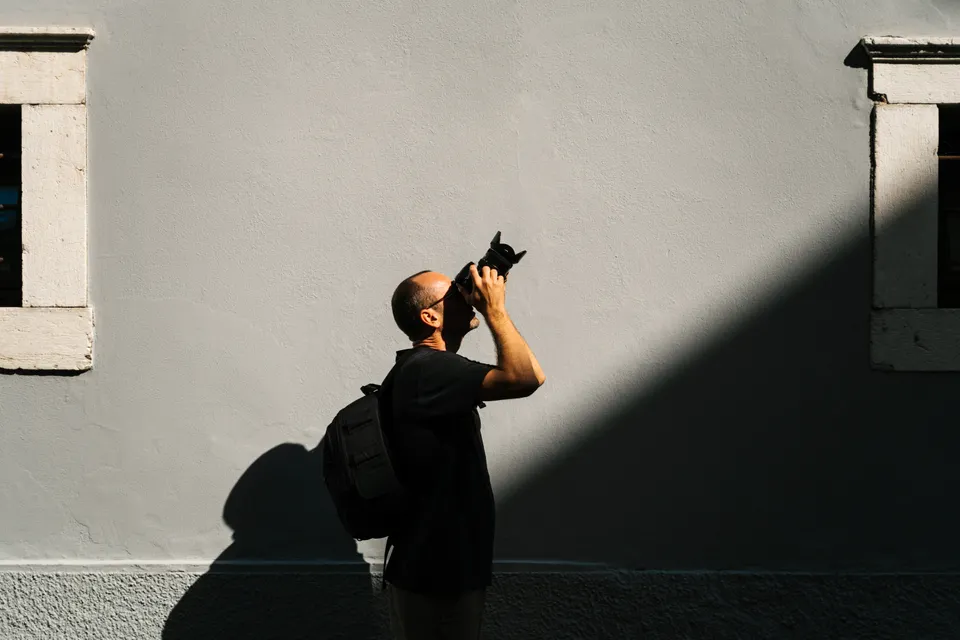
Smartphones have democratized photography. Nearly everyone has a camera in their pocket, and while many people can take pictures, far fewer can confidently call themselves a photographer.
For those aspiring photographers (and anyone who wants to take better looking photos), it helps to remember that even Ansel Adams was once a beginner. Mistakes are part of the process. The fastest way to improve is to shoot a lot, review your work, and analyze what went wrong.
To help you get better faster, here are nine of the most common photography mistakes to avoid — and how to fix them when they happen.
Key takeaways
- Fix poor composition by using the rule of thirds and grid overlay.
- Avoid bad lighting by shooting at golden hour and avoiding midday sun.
- If your photos are blurry, use a tripod and increase shutter speed or ISO.
- Instead of overediting, make small adjustments and compare the before and after.
- Bad backgrounds can be fixed by widening the aperture, repositioning your subject, and scanning the frame.
- Don't rely too much on Auto, instead use aperture or shutter priority modes.
- Try new angles or add foreground elements to avoid playing it safe.
Mistake #1: Poor composition
Composition is often the first thing people notice, and it’s arguably the easiest mistake to make. Typically, new photographers think they should center their subject no matter what. Other common culprits include tilted horizons, crooked vertical lines, or not having a clear focal point. In the end, a level horizon makes photos feel more intentional and professional.
Poor framing can make an image seem boring or unbalanced. This happens when the shot is rushed, or the photographer isn't looking at the edges of the frame.
The right composition tells a story and catches a viewer’s eye. Look at paintings for inspiration and pay attention to negative space as having empty areas around your subject creates a strong impact.
How to fix it:
- Turn on the camera grid or level overlay.
- Apply the rule of thirds and place subjects along grid lines instead of dead center.
- Study negative space; empty areas around a subject create impact.
- Look at paintings for inspiration.
Mistake #2: Incorrect exposure (under or overexposed images)
Exposure problems are common issues in photography, especially when you rely on auto mode. If highlights are blown out or shadows are too dark with no detail, exposure could be a problem.
Shadow detail is easier to recover, so watch your highlights first — it’s better to be slightly underexposed. This is important to make sure photos have details to drawn in the eye.
How to fix it:
- Use exposure compensation to fine-tune brightness.
- Prioritize protecting highlights — slightly underexposed is easier to recover than overexposed.
- Learn the exposure triangle: shutter speed controls motion, aperture controls depth of field, ISO controls sensor sensitivity.
Mistake #3: Bad lighting choices
Lighting makes or breaks a photo. If you’ve seen harsh shadows, flat or dull images, or weird color casts, it’s probably because the lighting was wrong.
How to fix it:
- Shoot during golden hour (shortly after sunrise or before sunset).
- Avoid shooting in direct midday sunlight.
- Diffuse harsh light or reposition relative to your light source.
Mistake #4: Blurry photos (not holding camera steady)
If you’re not holding the camera steady or are shooting in low light, chances are high that photos will be blurry. If the entire image looks soft or smeared, or if there’s no sharp focal point, it could be that the shutter speed was too slow, the camera shaked, or the subject moved.
This is one of the most frustrating photography mistakes because it feels avoidable in hindsight. If everything is blurry, it’s almost always camera movement.
How to fix it:
- Use a tripod for stationary subjects.
- Minimum shutter speed rule: at least 1/125s for still subjects.
- If you expect people to move, use 1/200s-1/800s.
- Raise ISO to allow faster shutter speeds in low light.
Mistake #5: Overediting
Editing is meant to improve photos, but there’s a fine line between editing and overediting. While it’s only natural to play with contrast, saturation, and sharpness, the result can be an unnatural looking image. Images that look edited, with oversaturated colors or unrealistic skin tones, and heavy contrast is what this looks like.
It’s easy to push sliders too far, use filters too much, or not step away for a fresh perspective. Great editing should be invisible.
How to fix it:
- Start with basic adjustments only: exposure, contrast, white balance.
- Make small, incremental changes. Remember: Less is more.
- Save the original and compare a before and after
Mistake #6: Ignoring the background
Many photographers focus so much on their subject that they forget about everything behind it. But every photo has two stories — the subject and the background. Busy backgrounds that steal attention, objects coming out of heads, or distracting objects behind the subject mean that your eye doesn’t know what to focus on.
If your main subject blends into the background, try using depth of field creatively. Make sure your subject stands out so the viewer knows what to focus on.
How to fix it:
- Scan the full frame before shooting.
- Shift your position to eliminate distractions or find a clean background.
- Use a wider aperture (lower f-number) to blur the background (bokeh).
- Find a clean, simple background that lets the subject stand out.
Mistake #7: Not using manual controls (relying too heavily on Auto)
Photos taken on Auto are technically correct but creatively flat. As you’d expect, with auto mode, the camera decides exposure, shutter speed, aperture, and ISO, so you don’t have to. But this takes away your creative control. You don’t get to learn how to use light, motion, and depth of field to create your image. Trust your eye and take control.
Practice controlling one variable at a time to see how it changes your image, then gradually work towards using manual mode.
How to fix it:
- Start with semi-automatic modes: Aperture Priority (Av) or Shutter Priority (Tv/S).
- Practice adjusting one variable at a time.
- Gradually transition to full Manual Mode.
- Learn how shutter speed, aperture, and ISO interact.
Mistake #8: Playing it too safe
Generic, predictable photos don’t stop the scroll. A good photographer has a sense of adventure and tells a story through their images. They take shots with emotion and intention that are distinct from what everyone else does.
Try a different angle — get low or shoot from above. Take multiple versions with different perspectives to tell a story. Or use foreground elements.
How to fix it:
- Experiment with angles.
- Use foreground elements to add depth and context.
- Shoot multiple versions of the same scene with different perspectives.
- Ask: Does this image stop the scroll?
Mistake #9: Not telling a story
Striving for technical perfection can sometimes get in the way of your visual narrative. A good image should make the viewer feel something — awe, shock, happiness, or sadness, for example. Use light, composition, and subject intentionally to inspire creativity and capture whatever emotion you’re going for.
Before shooting, make sure you decide what kind of story you want to tell.
How to fix it:
- Decide what emotion or narrative you want to convey before shooting.
- Use light, composition, and subject placement with intention.
- Look for moments, not just scenes.
- Ask: What will the viewer feel?
Having intention is the difference between taking pictures and being a photographer. Focus on the fundamentals — understand how your camera works and the modes you can manipulate, respect and use light to your advantage, and pay attention to composition. Then, practice and shoot a lot, and review your images honestly. The more you practice and learn from your mistakes and successes, the better each photo will become.


