



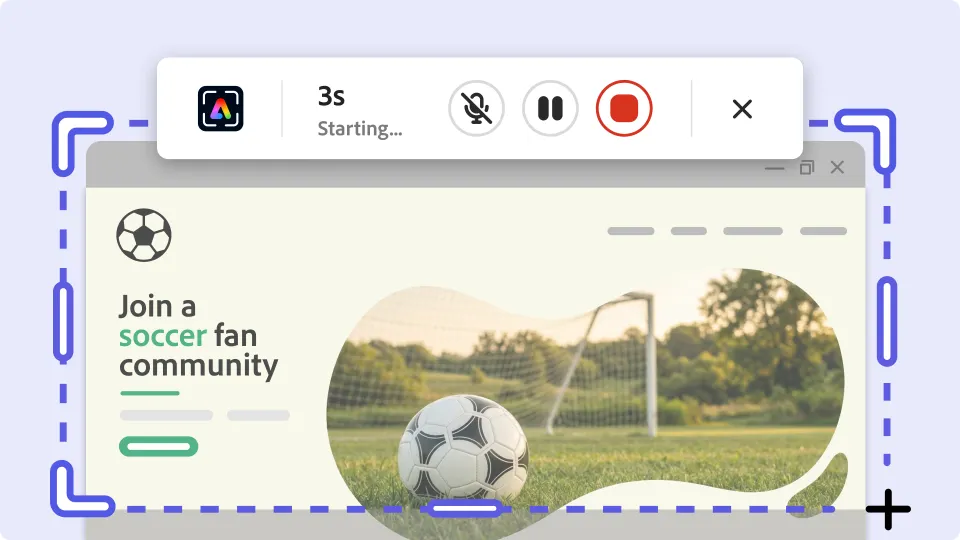
We all know that a photo is worth a thousand words, which makes a screen recording worth, well, at least a thousand words. Let’s back up a bit and explain. Usually, a team project begins with a kickoff meeting that takes time to coordinate and usually includes a few more people than is necessary, but it’s what we always do. It’s a chance to share your screen and explain the project in detail. From there, you might share text and screenshots on that call. But there's a better way.
All this coordination takes a lot longer than if you simply recorded what’s happening on your screen and shared it with the stakeholders that need it. At the end of the day, a 1-minute recording could replace that 30-minute meeting and gives everyone the chance to work asynchronously in their own time.
Skip the unnecessary meetings, out-of-context text and screenshots, and clearly communicate workflows, bugs, and feedback with a faster, more visual way to explain what’s happening on screen. Screen Recording is available in Adobe Express Photos now.
Record and share what’s happening in real time
Walk a coworker through a new workflow, report a bug with full visual context, or create a product demo without a production crew with Screen Recordings. It’s a faster, clearer way to communicate what’s on your screen.
Here are a few ideas of what you can do with Screen Recording:
- Team communication: Record quick walkthroughs and updates so teammates stay aligned without a live meeting.
- Training and onboarding: Create step-by-step tutorials to help new employees or customers learn tools and workflows faster.
- Product demos: Capture features, workflows, or prototypes to deliver personalized, on-demand demonstrations.
- Bug reporting: Record issues as they happen to give developers clear, reproducible context for troubleshooting.
- Design reviews: Walk through designs and creative assets visually to streamline feedback and approvals.
How to start recording in Express Photos
- Open the application, webpage, or workflow you want to record on your screen.
- Press PrtScn or Win + Shift + S to launch Express Photos.
- In the floating toolbar, select the video icon to switch to screen recording mode.
- Drag to select the area of your screen you want to capture.
- Click the microphone icon to capture the mic.
- Click “Start recording” and walk through the content you want to capture.
- When finished, stop the recording. The video is automatically copied to your clipboard and saved to your Screen Recordings folder.
- Optionally, increase, lower, or mute the volume in the editor to fine-tune audio before sharing.
- View the video in Express Photos.
- Select Share to share your recording directly with colleagues from your clipboard, or right click and select “save as” to save the video in a new location on your device.
Screen Recording makes kicking off projects, reporting bugs, and other everyday tasks quick and easy. It’s a tool that helps you communicate faster and clearer, especially for the kinds of visual, process-driven content that text wasn’t great at conveying.


